Ilaria Canevara
May 15, 2025
Gesamtzeit: 70 Min.
Schwierigkeit: Niedrig
Portionen: 4 Personen
;Resize,width=742;)
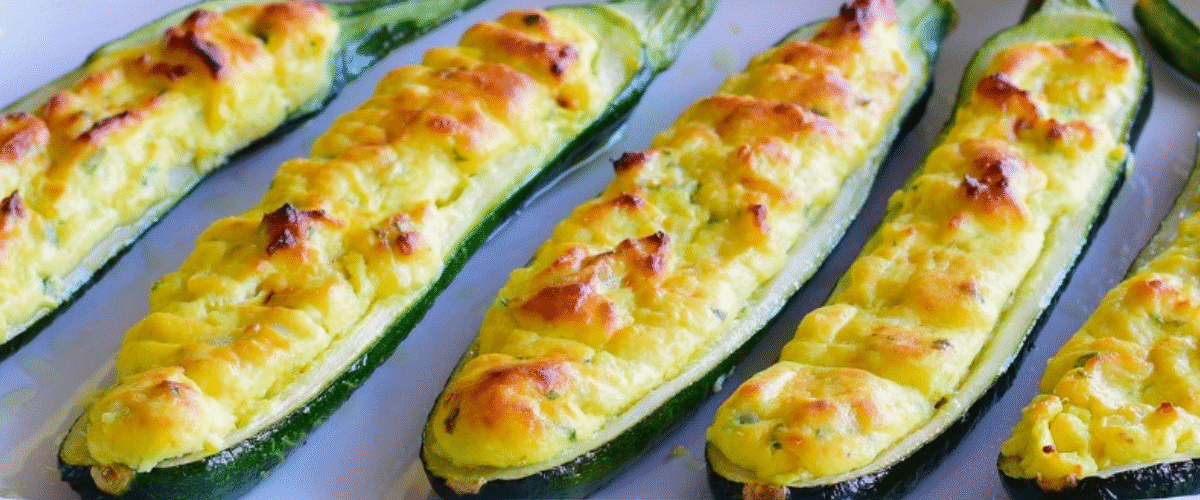
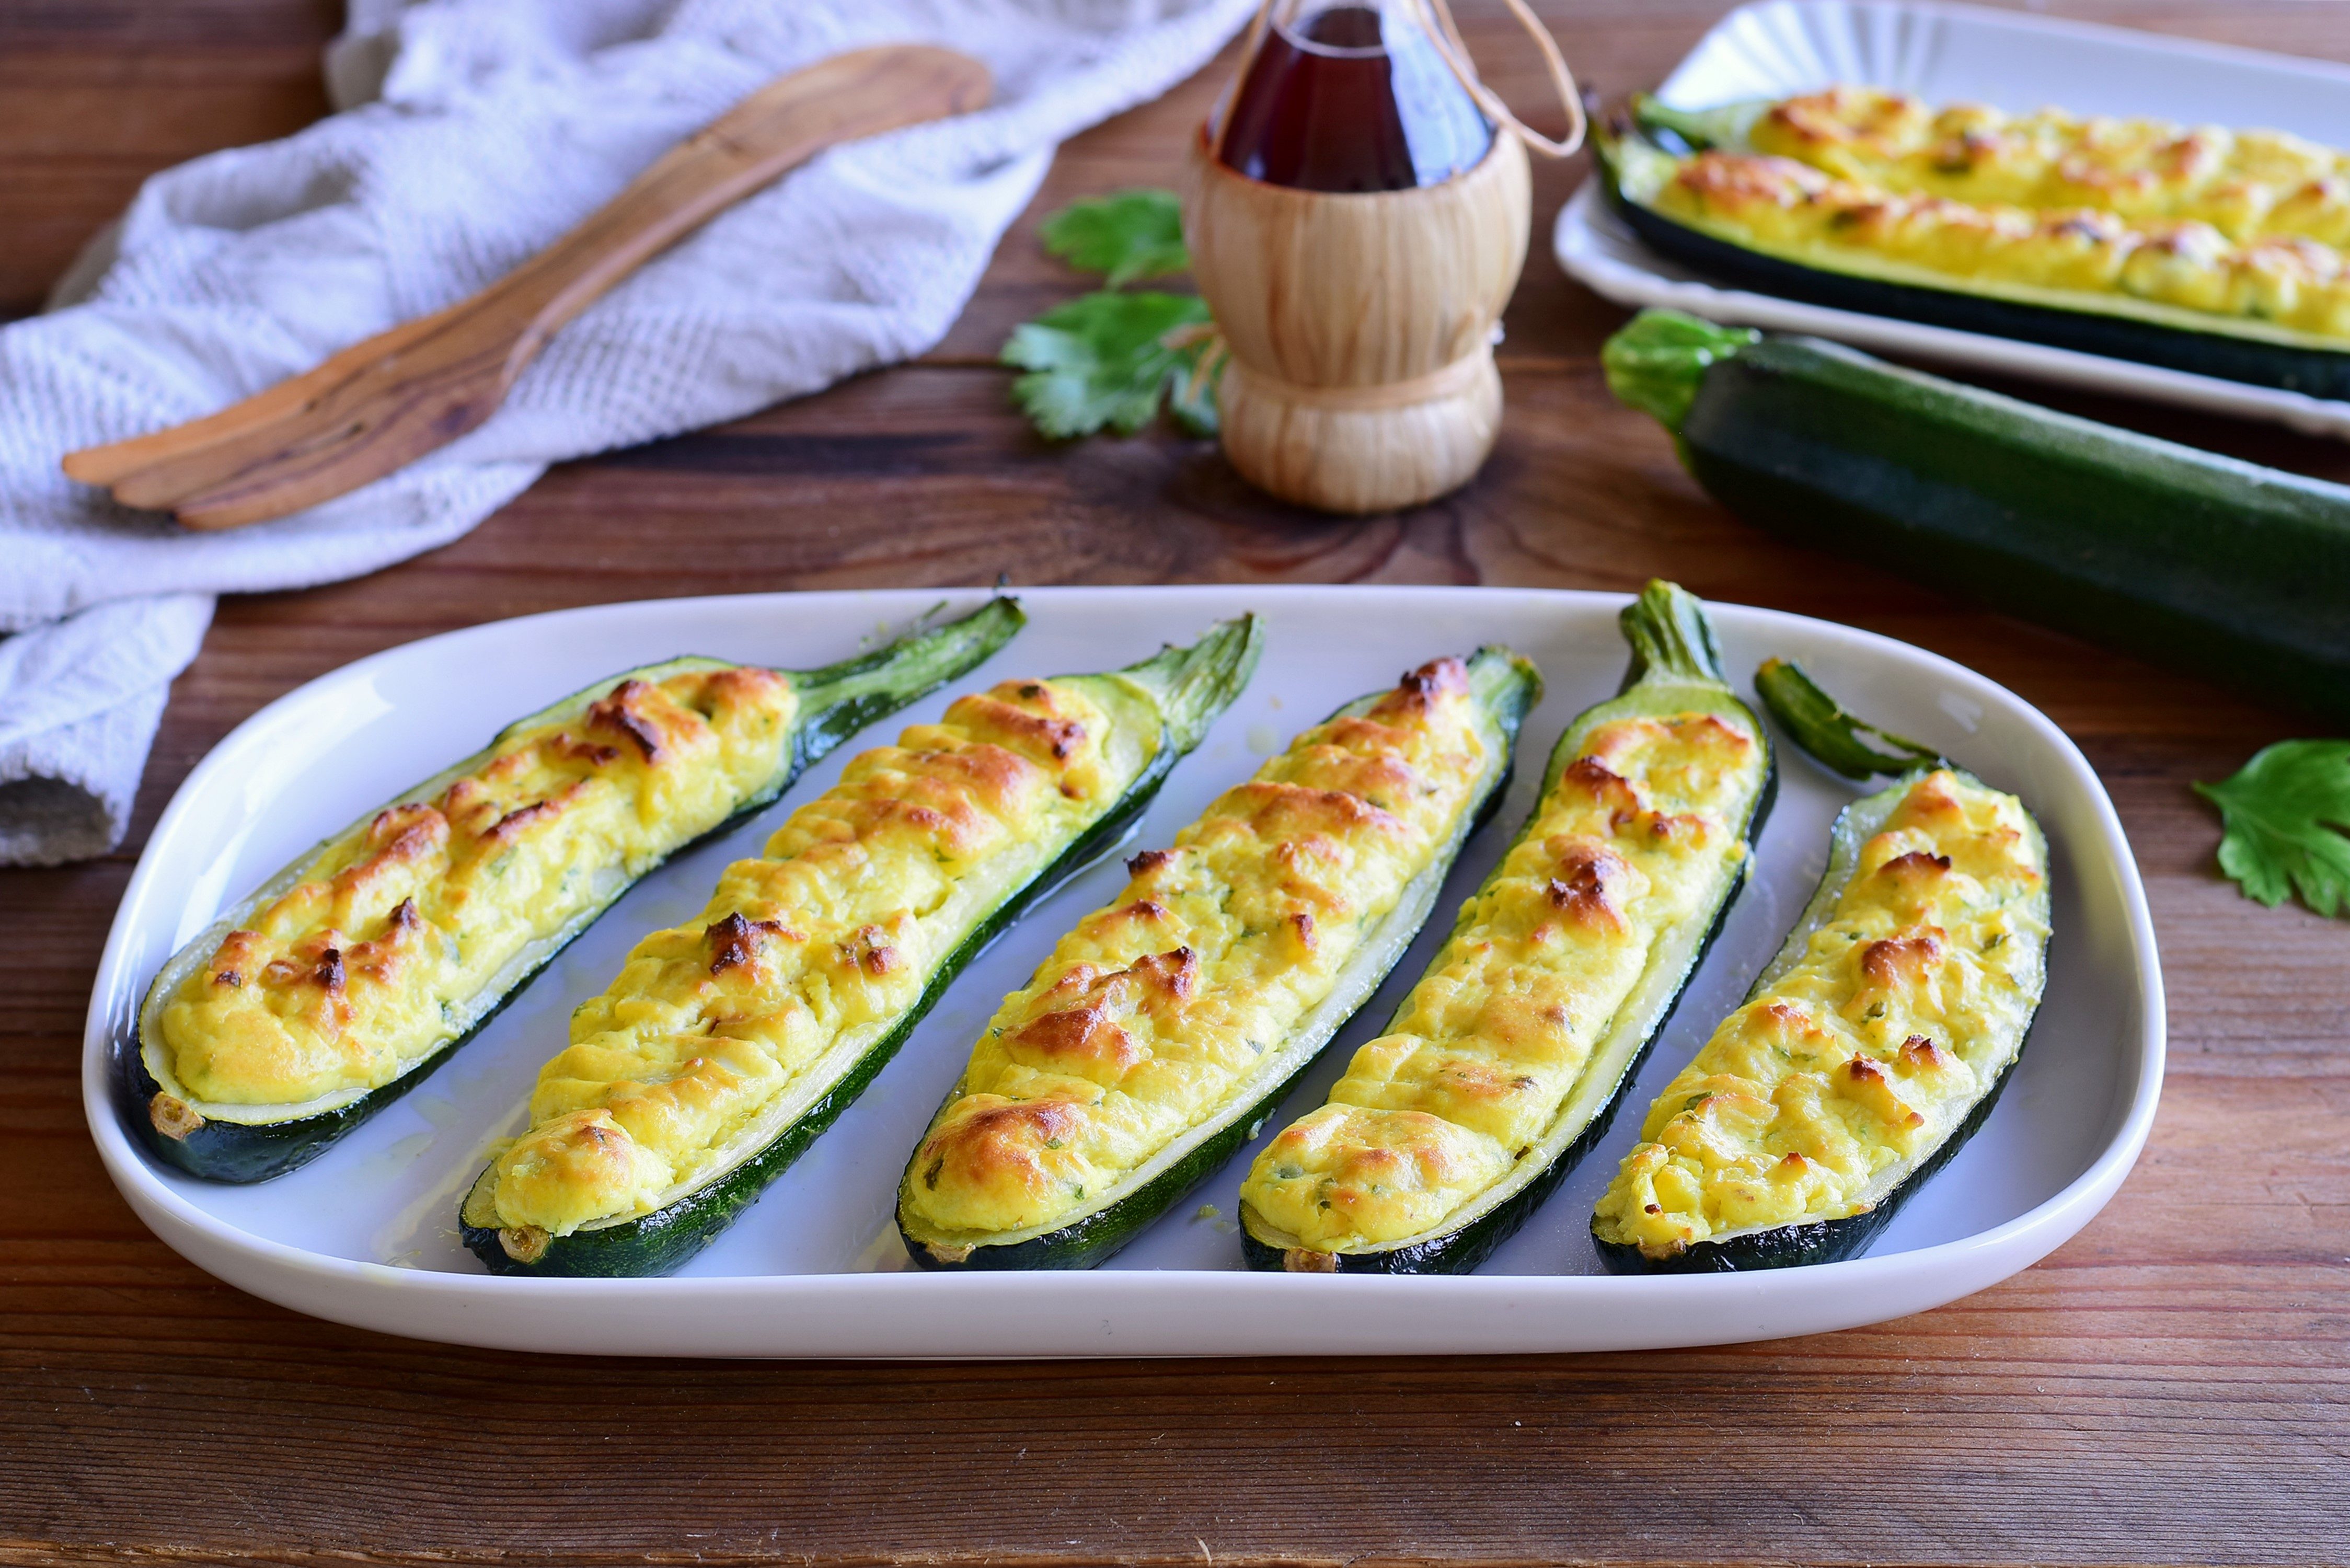
Mit Ricotta gefüllte Zucchini-Boote sind köstliche gefüllte Boote, die sich ideal für ein sommerliches Mittag- oder Abendessen eignen , sowohl als leichte und leckere Beilage als auch als Vorspeise . Die vegetarische Variante der klassischen mit Fleisch gefüllten Zucchini ist in etwa einer halben Stunde gar und wird auch von Kindern geliebt, die normalerweise nicht so gerne Gemüse mögen.
Für die Zubereitung die Zucchini halbieren , das Fruchtfleisch entfernen und das in Würfel geschnittene Fruchtfleisch mit einer Knoblauchzehe und etwas Öl in einer Pfanne anbraten. Jetzt nur noch den gut abgetropften Ricotta mit dem Ei, dem geriebenen Parmesan , dem Gemüsemark, der gehackten Petersilie und einer Prise Muskatnuss in einer Schüssel vermengen und die Zucchini mit der entstandenen Füllung füllen, auf ein mit Backpapier ausgelegtes Backblech legen und die Oberfläche leicht salzen: Im Ofen gebacken verwandeln sich diese in köstliche, cremige Leckerbissen, die man mit selbstgebackenem Brot und Ihrer Lieblingsbeilage der Saison servieren kann.
Was sind Ricotta-Zucchini-Boote?
Zucchini-Boote, ein beliebtes Gericht der amerikanischen Küche , haben sich zu einem beliebten Wohlfühlessen entwickelt, insbesondere in gesünderen und vegetarischen Rezepten. Die Idee, Gemüse zu füllen, ist Jahrhunderte alt, aber Zucchini-Boote erfreuten sich in den USA während der gesundheitsbewussten Ernährungsbewegung der 1970er und 1980er Jahre großer Beliebtheit . Zucchini, ein Sommerkürbis, wurde aufgrund seines milden Geschmacks, seiner Vielseitigkeit und seines geringen Kaloriengehalts geschätzt .
Die Idee, Zucchini mit verschiedenen Füllungen zu „füllen“ – von Käse und Semmelbröseln bis hin zu Fleisch oder Quinoa – war eine innovative Möglichkeit, eine sättigende und dennoch leichte Mahlzeit zuzubereiten . Im Laufe der Zeit wurden Zucchinischiffchen zu einem festen Bestandteil sowohl von Familienessen als auch von trendigen Reformhäusern und werden für ihre ausgewogenen Aromen, die einfache Zubereitung und die Möglichkeit, sie mit einer Vielzahl von Zutaten individuell zu verfeinern, geschätzt.
Profi-Tipps für die besten Zucchini-Ricotta-Boote
- Wählen Sie mittelgroße Zucchini, da diese die perfekte Balance zwischen Größe und Textur für Füllung und Konsistenz bieten. Vermeiden Sie zu große Zucchini, da diese wässrig werden und an Geschmack verlieren können.
- When hollowing out the zucchini, be gentle to leave a solid shell. Use a melon baller or spoon to carefully scoop out the flesh, but don’t go all the way through the skin to prevent the filling from leaking out.
- When filling the zucchini boats, don’t pack the mixture too tightly. A loosely packed filling ensures even cooking and a good balance of flavors.
- For a golden, crispy topping, sprinkle grated Parmesan or mozzarella on top of your stuffed zucchini boats before baking. It’ll create a delicious, browned crust.
- Keep an eye on your zucchini boats while baking. You want the zucchini to be tender but still hold its shape. Depending on the size, baking times may vary, but generally, 20-25 minutes at 375°F (190°C) should do the trick.
Do I Have to Bake The Zucchini Before Stuffing Them?
No, you don’t have to bake the zucchini before stuffing them, but it can help achieve better texture. Pre-baking the zucchini for about 10 minutes softens the flesh, making it easier to scoop out and ensuring it holds its shape during baking. It also helps prevent the zucchini from releasing too much moisture, which can make the filling soggy. However, if you prefer a firmer texture, you can skip the pre-baking and stuff the raw zucchini directly. Just be mindful that it may need a little extra time to cook through.
How Do I Keep The Stuffed Zucchini From Getting Soggy?
To prevent stuffed zucchini from getting soggy, lightly pre-bake the zucchini halves for 5–10 minutes to remove excess moisture. Be sure to scoop them carefully, leaving a solid shell. Salt the insides to draw out moisture, then blot it off before stuffing. Use a thick filling, like well-drained ricotta or cooked grains, and avoid watery ingredients. Finally, bake at a moderate temperature (375°F or 190°C) to cook the zucchini through without releasing too much moisture. These steps will help keep your zucchini boats crisp and flavorful.
What Other Cheese Can I Use, Instead of Ricotta?
If you’re looking for alternatives to ricotta in stuffed zucchini boats, there are several great options. Cottage cheese provides a mild, creamy texture, though it should be well-drained to avoid excess moisture. Mozzarella offers a melty, gooey texture, perfect for a cheesy filling, while goat cheese adds a tangy, creamy flavor. Feta delivers a salty, briny taste with a crumbly texture that contrasts nicely with the soft zucchini. Cream cheese creates a smooth, rich filling, and mascarpone offers a creamy, slightly sweet option for a richer taste.
Can I Add Anything Else to The Filling of the Zucchini?
If you want, for a more intense aroma, you can replace the parsley with a few chopped fresh mint leaves or chopped chives, or you can spice it all up with a pinch of turmeric or ground pepper. If you want to make the filling richer, you can add to the rest of the ingredients a mashed boiled potato, diced cherry tomatoes, finely chopped ham or grated spicy provolone.
Can I Make These Ahead of Time?
Yes, you can make stuffed zucchini boats ahead of time! To prepare them in advance, simply stuff the zucchini and store them in an airtight container in the refrigerator for up to 1-2 days before baking. When you’re ready to cook, you can either bake them directly from the fridge or let them sit at room temperature for a few minutes before placing them in the oven.
Do They Freeze Well?
Yes, stuffed zucchini boats freeze well! To freeze them, prepare and stuff the zucchini as usual, then place them on a baking sheet in a single layer to freeze them solid. Once frozen, wrap each zucchini boat tightly in plastic wrap or foil, and store them in a freezer-safe bag or container for up to 3 months.
When you’re ready to cook, you can bake them straight from frozen, though they may need an extra 10–15 minutes of cooking time. Alternatively, thaw them in the refrigerator overnight before baking. This makes them a great make-ahead option for busy days!
How to Store Ricotta Stuffed Zucchini Boats
To store leftover stuffed zucchini boats, allow them to cool completely, then place them in an airtight container. You can store them in the refrigerator for up to 3-4 days.
To reheat, simply place them in the oven at 350°F (175°C) for about 10-15 minutes, or until heated through.
long green zucchini
4
Ricotta
250 grams
Grated Parmesan
4 tbsp
eggs
1
Garlic clove
1
parsley tuft
1
Nutmeg
to taste
Extra virgin olive oil
to taste
salt
to taste
How to Make Ricotta Stuffed Zucchini Boats
;Resize,width=712;)
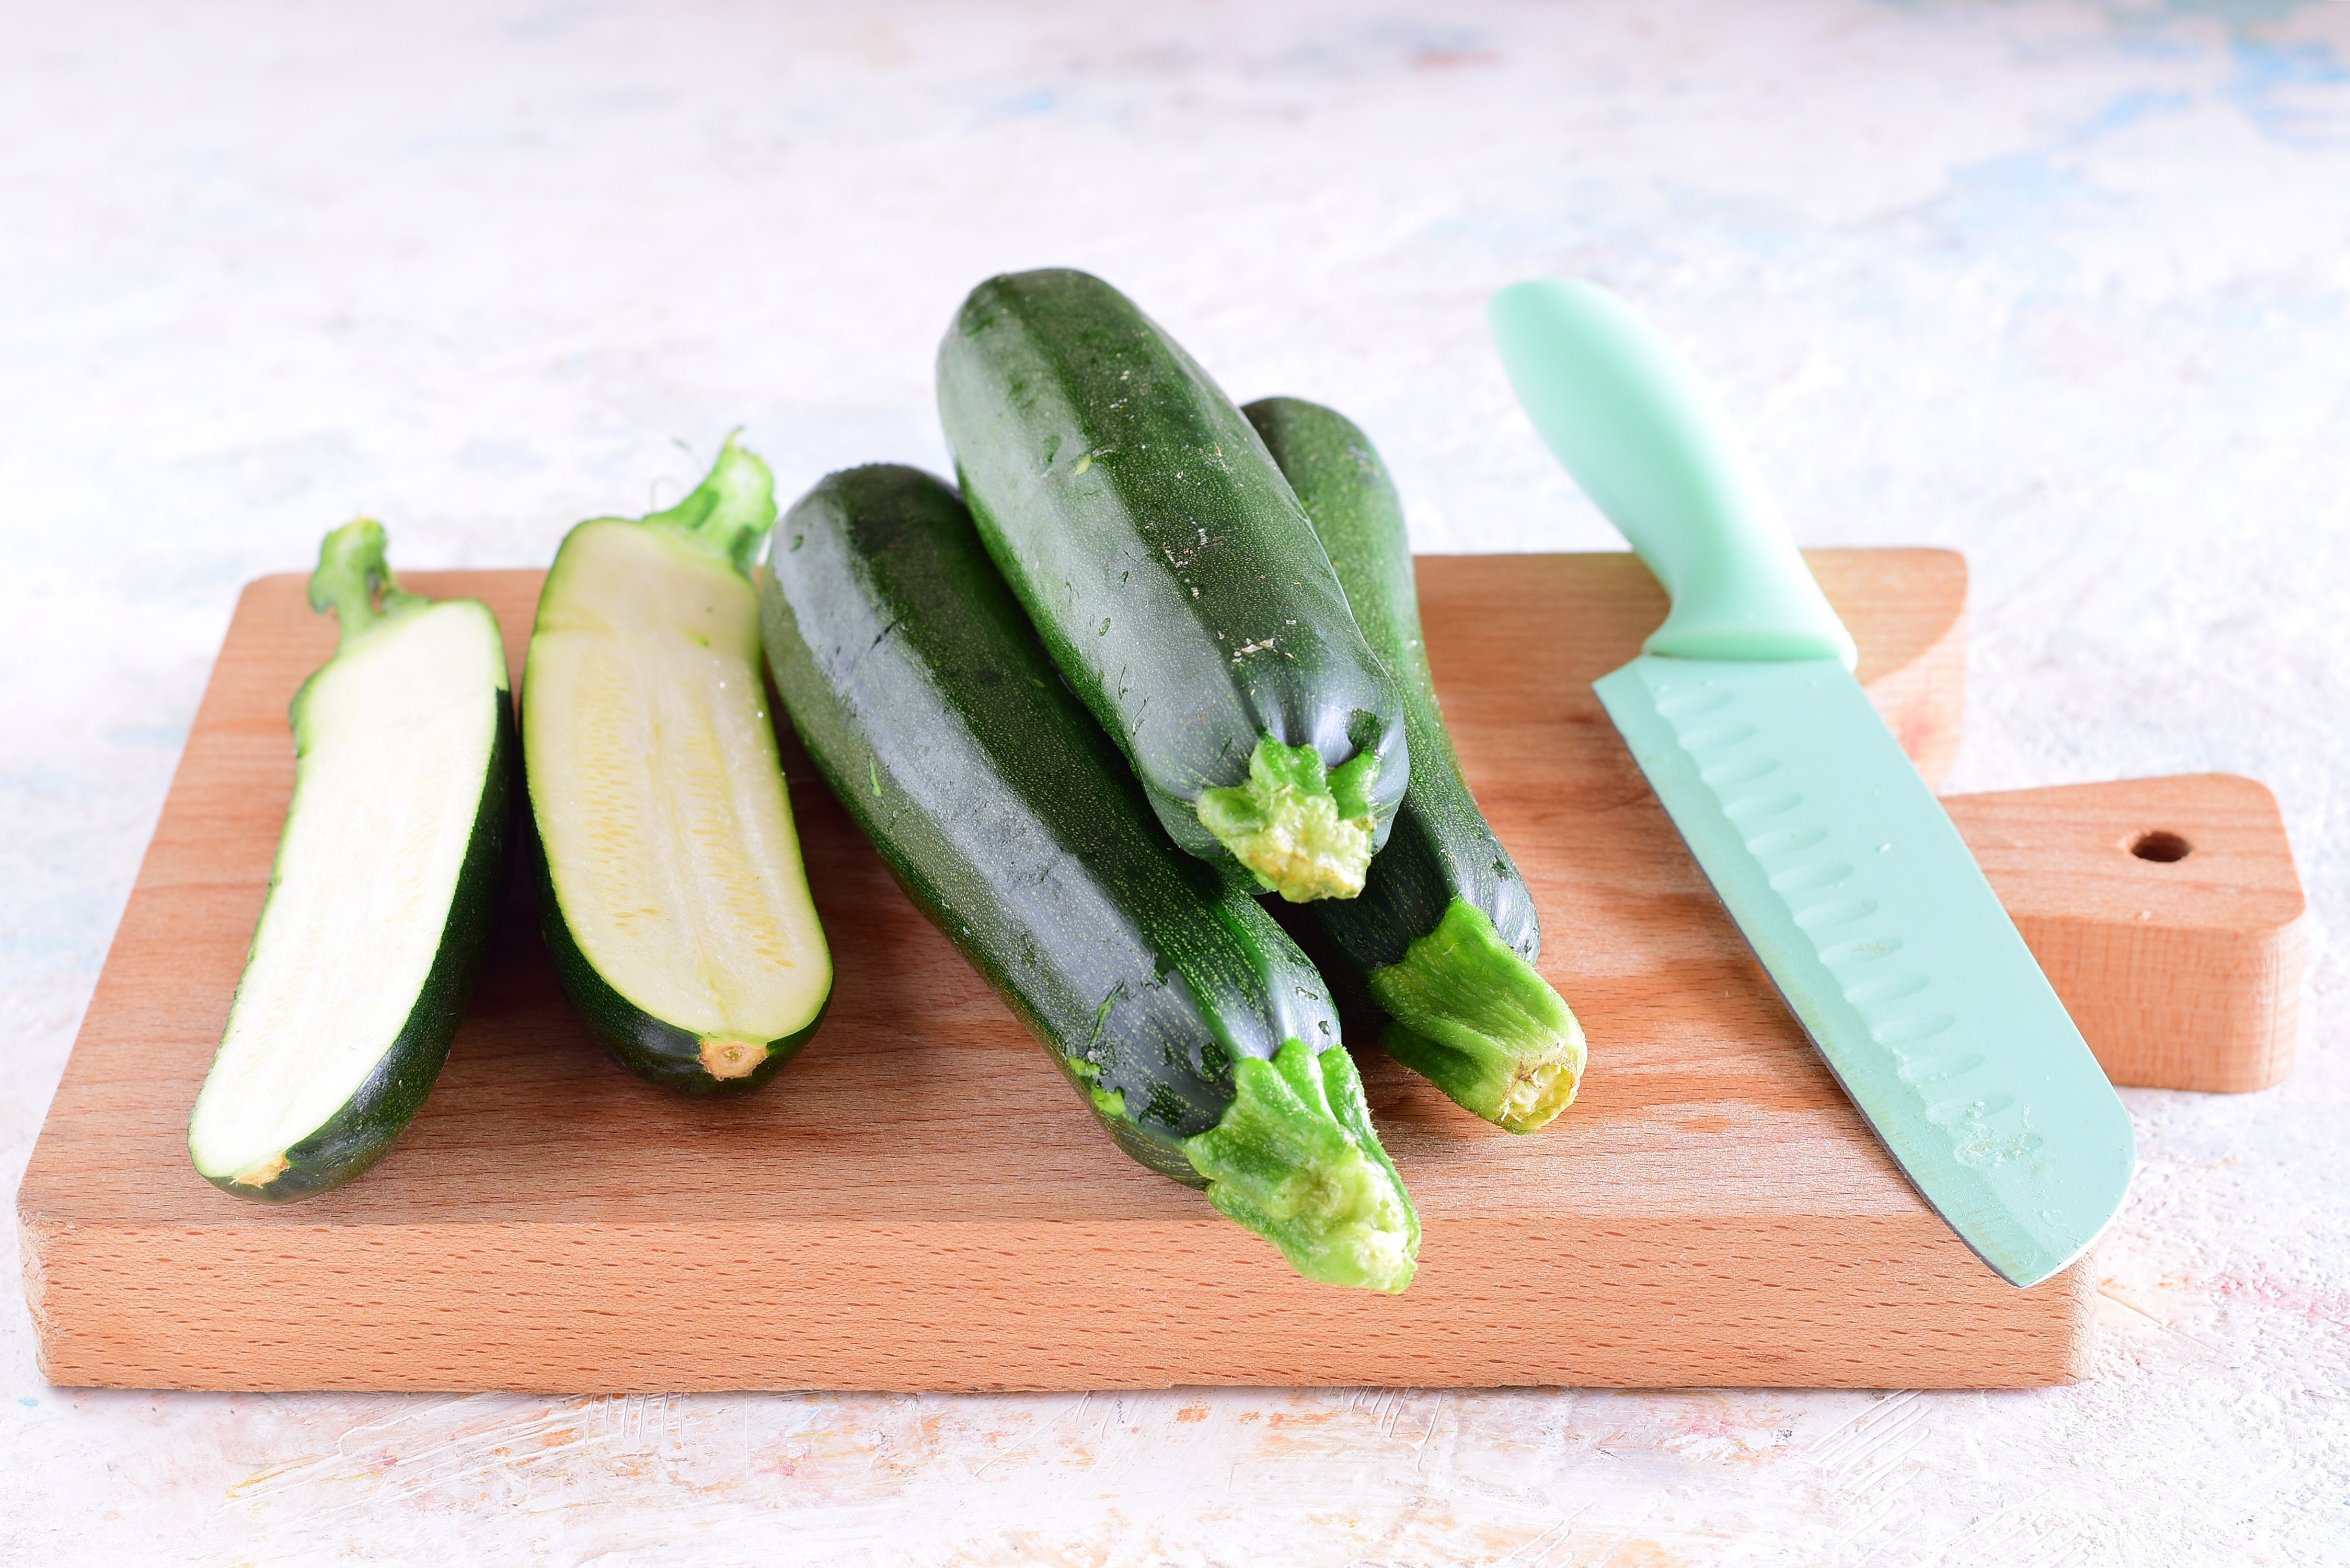
Step 1
Wash the zucchini, dry them and cut them in half lengthwise.
;Resize,width=712;)
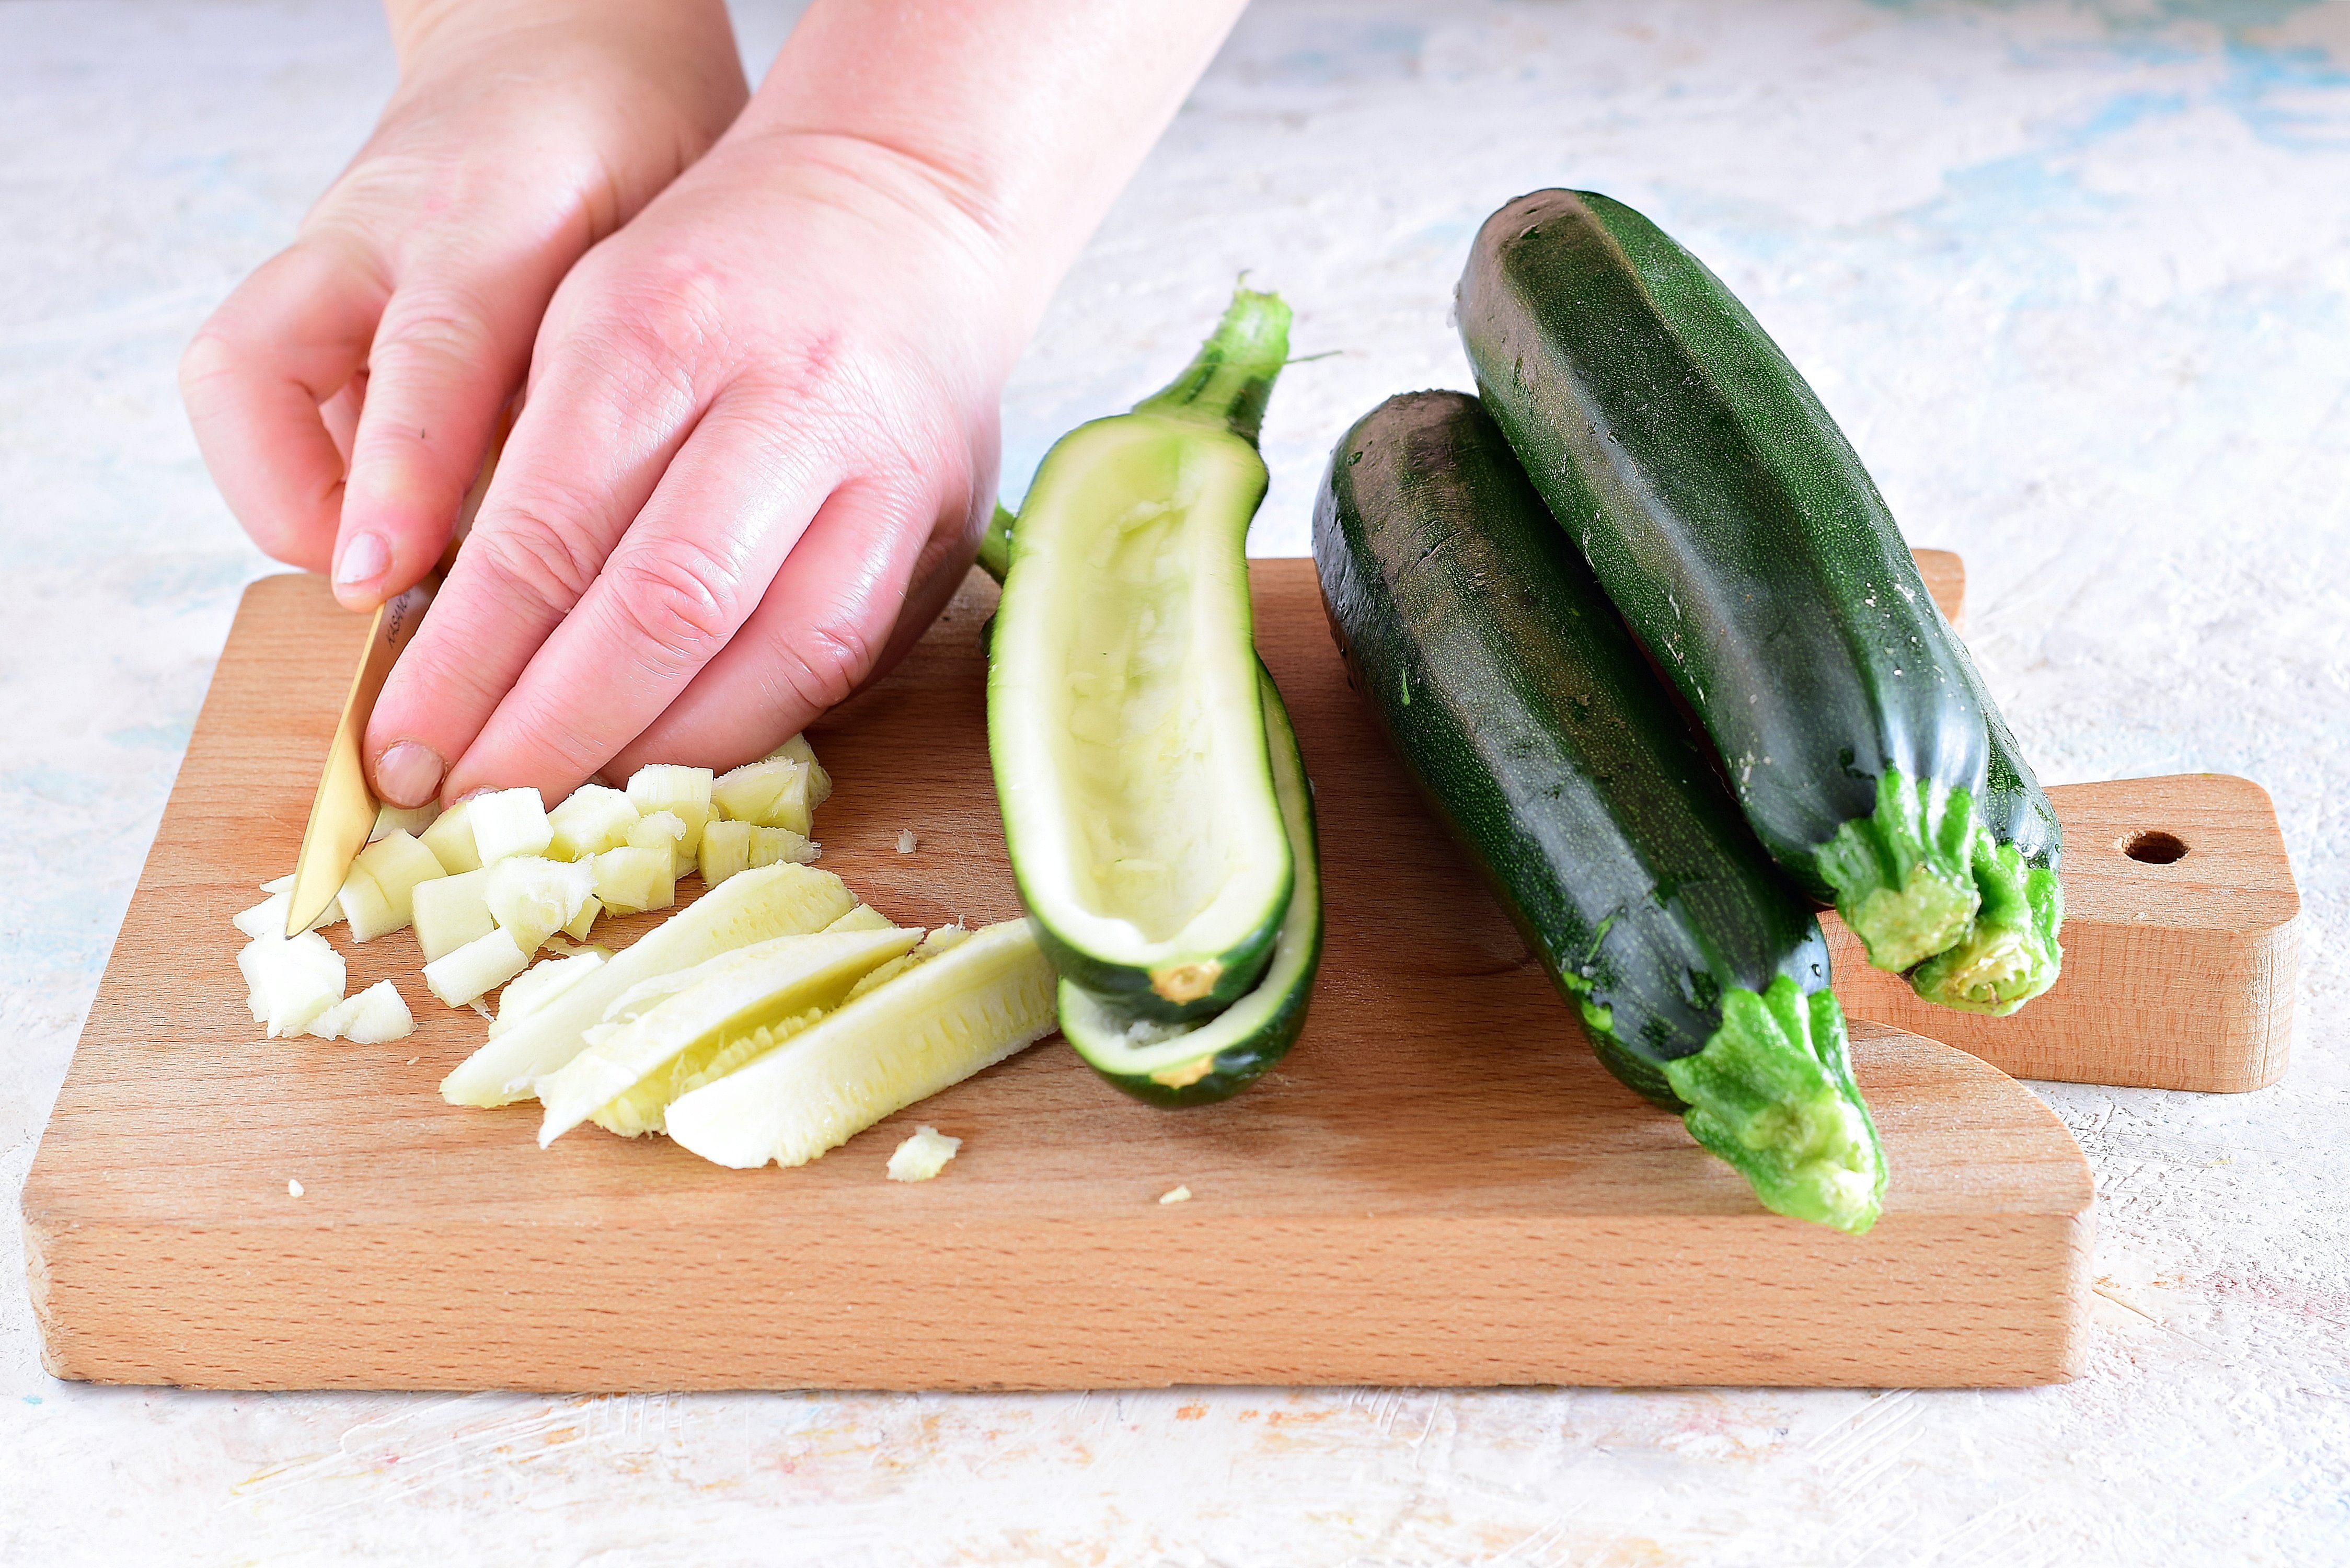
Step 2
Using a melon baller, remove the pulp and cut it into cubes.
;Resize,width=712;)
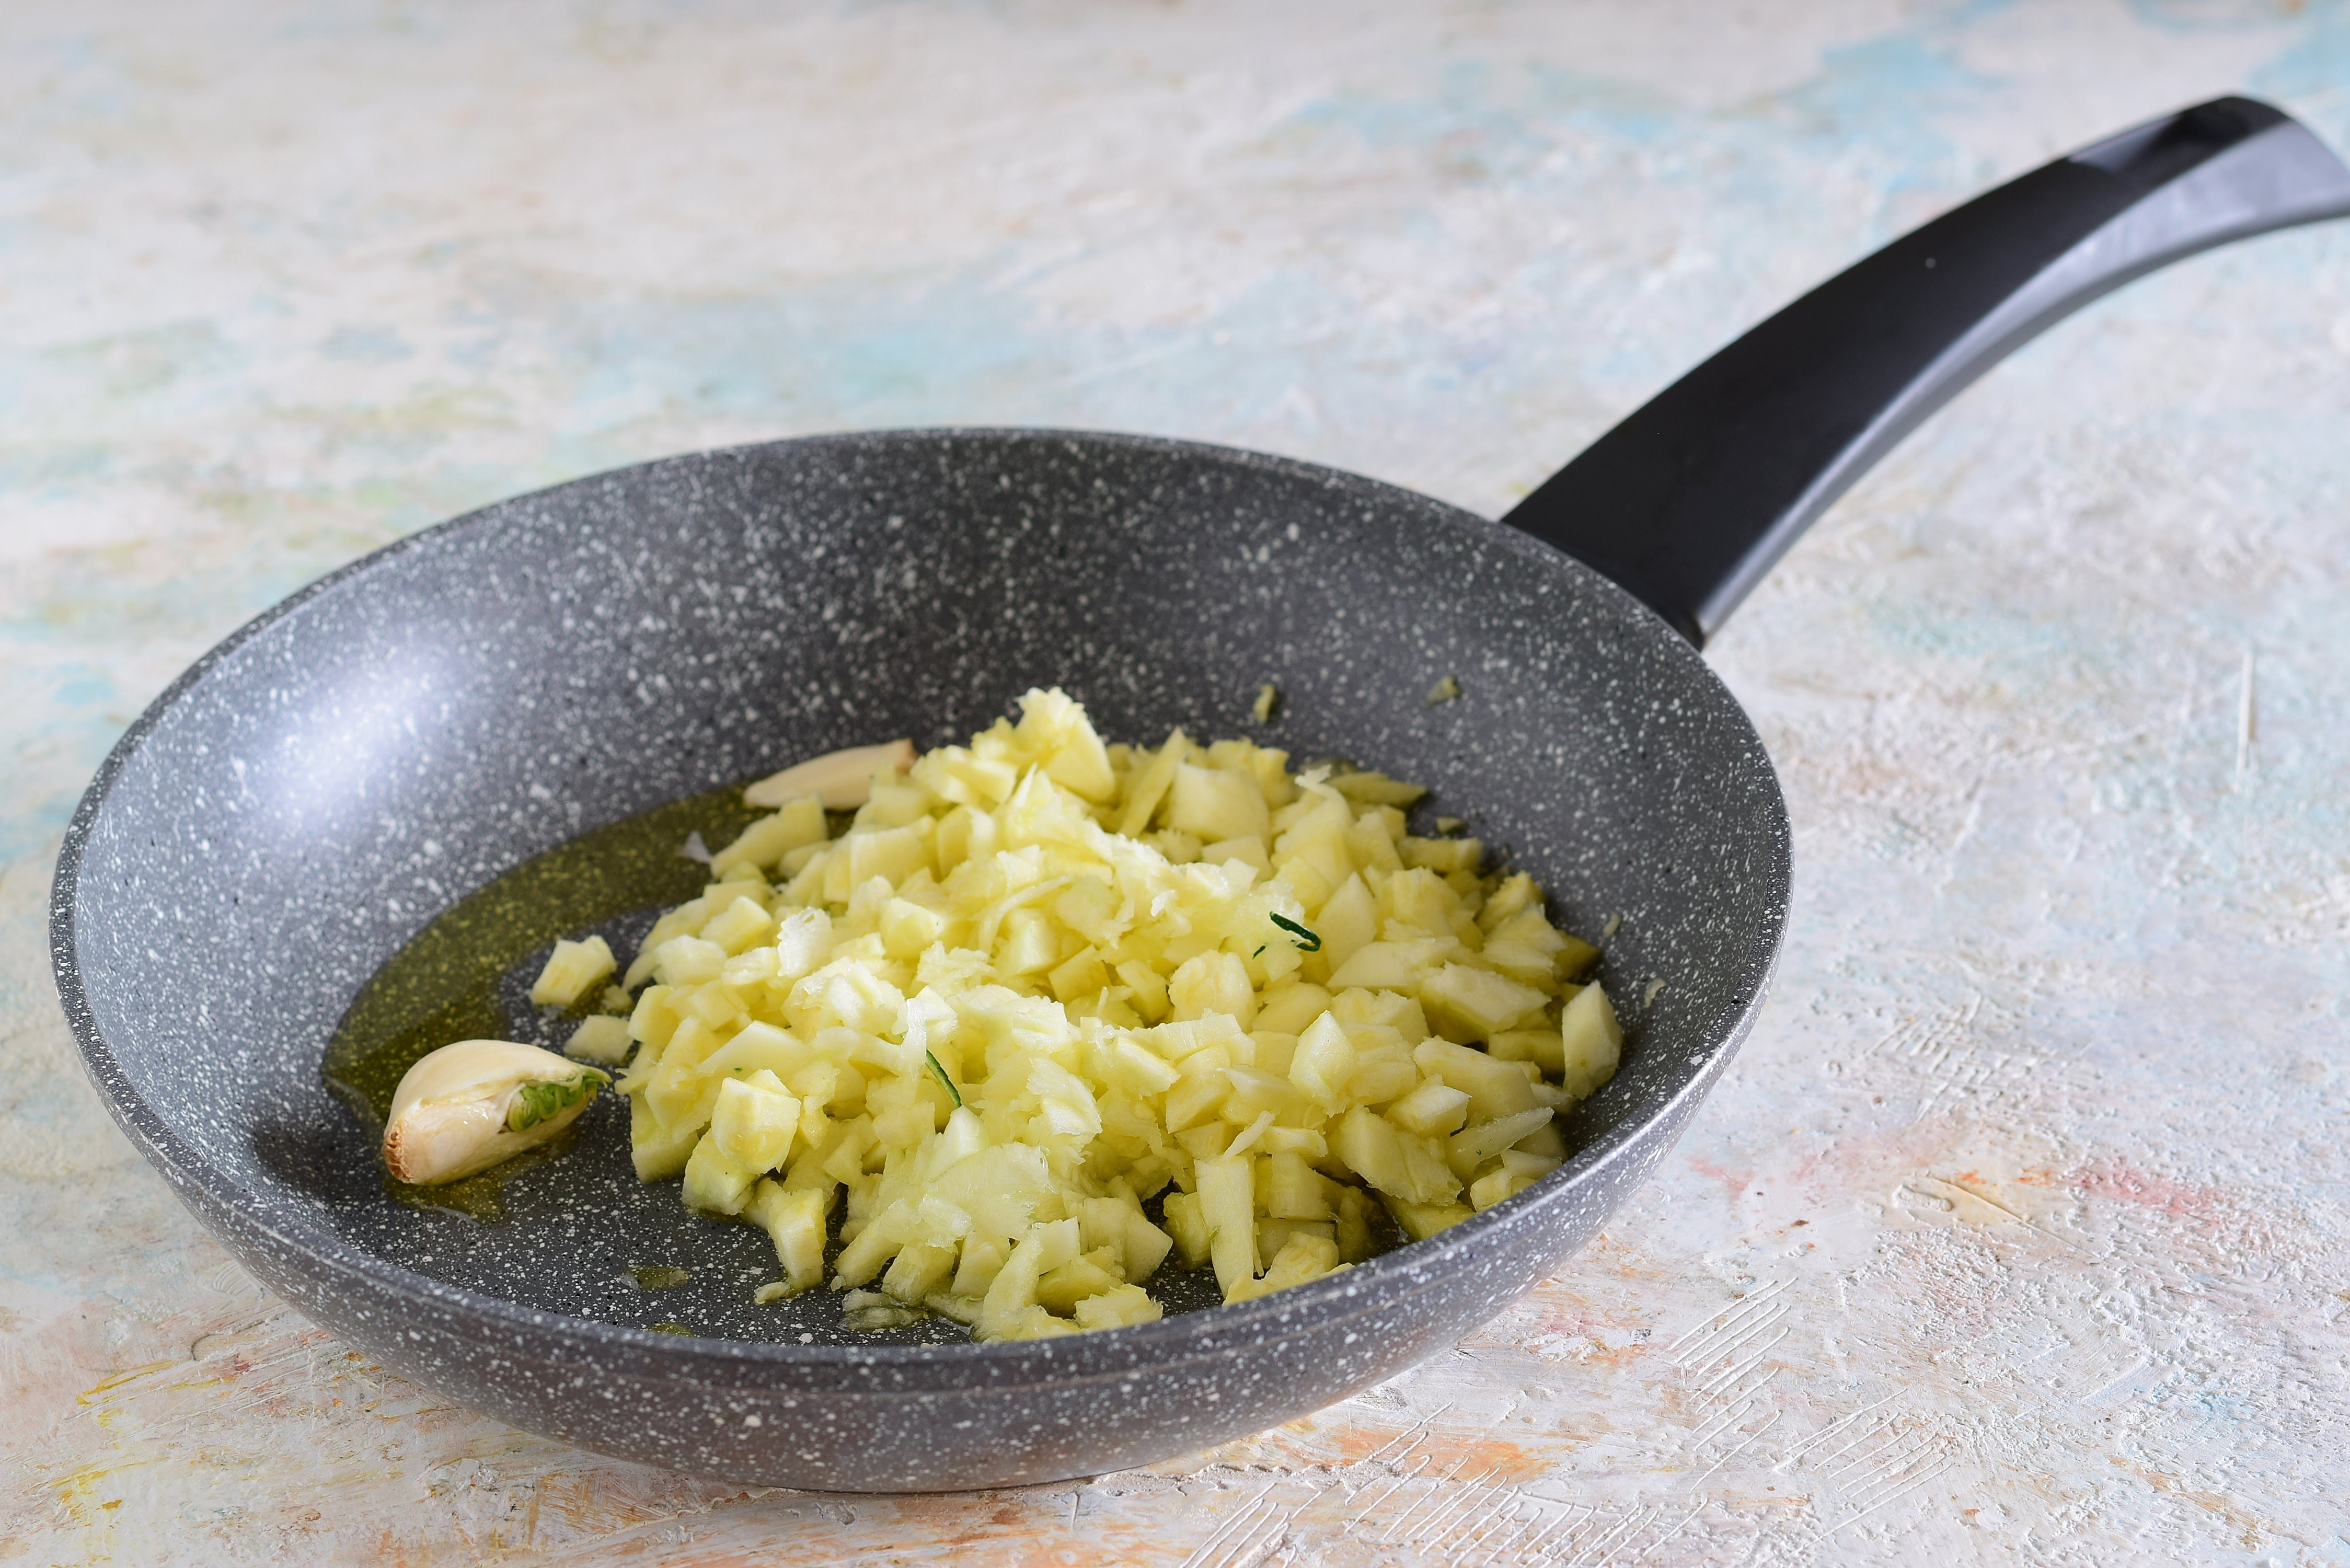
Step 3
In a non-stick pan, brown the garlic with a drizzle of oil, then pour in the zucchini pulp and brown for about 5 minutes on low heat. When finished, remove from heat and discard the garlic.
;Resize,width=712;)
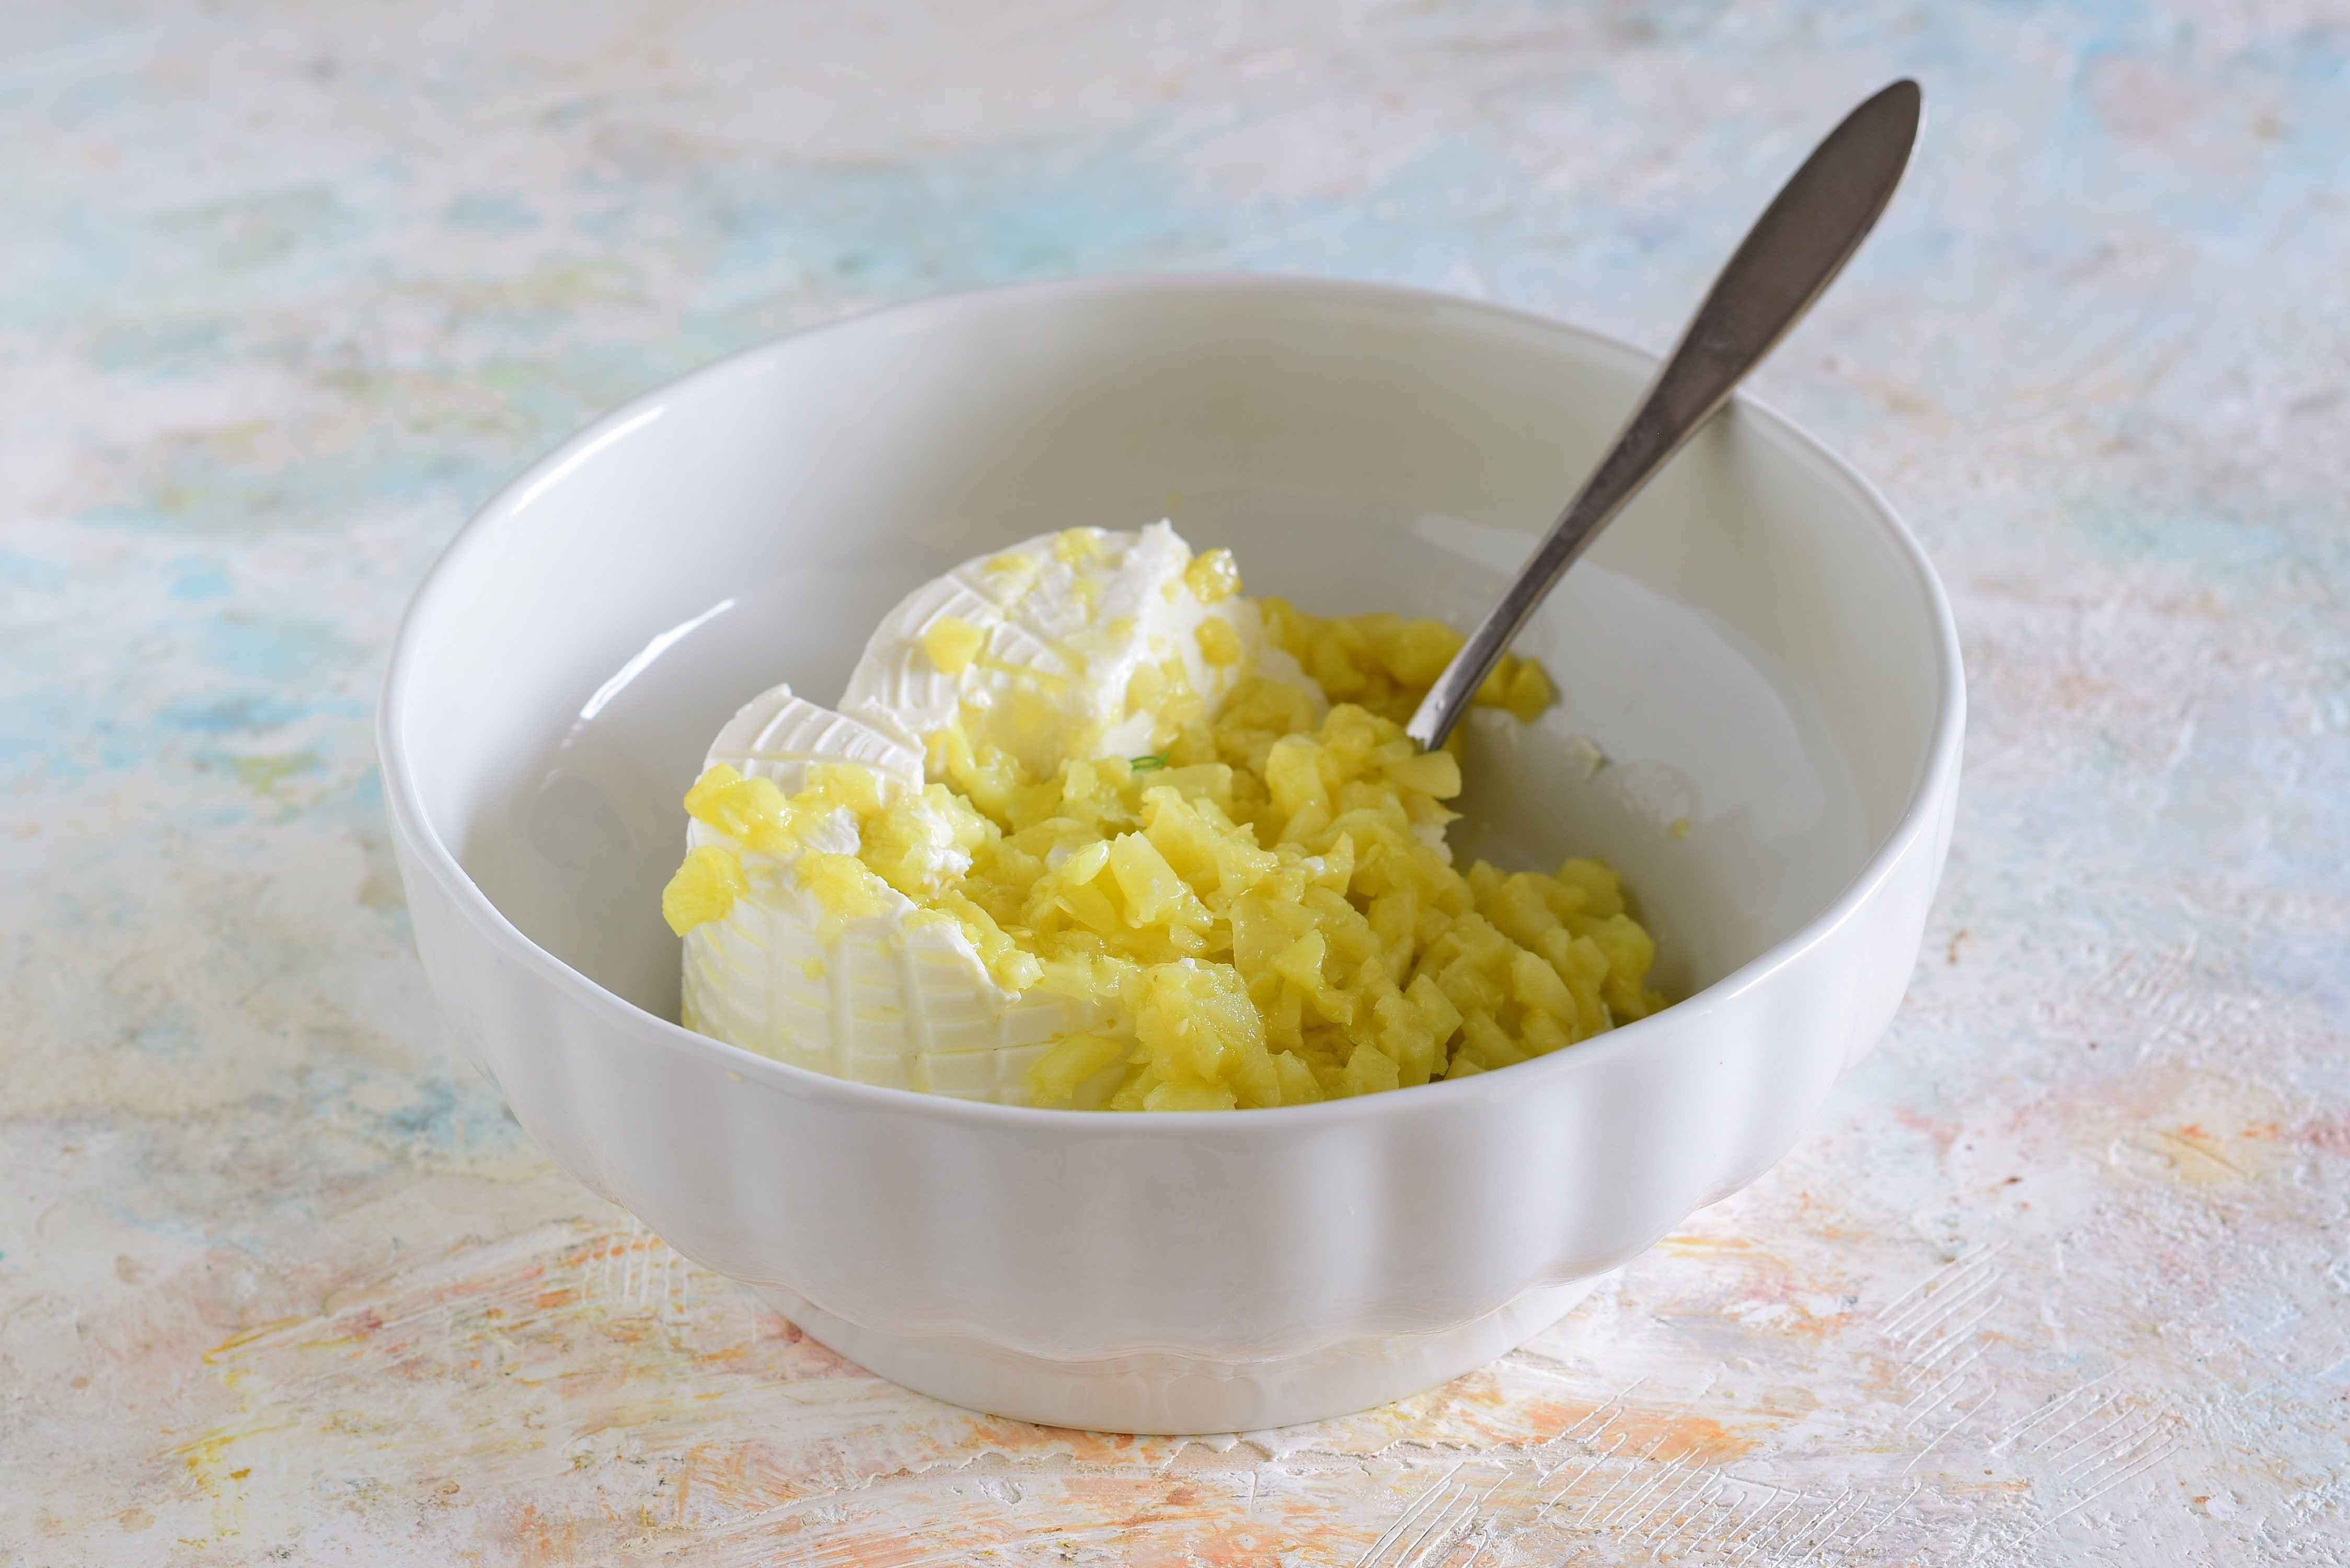
Step 4
Collect the ricotta, well drained from the whey, in a bowl and pour in the courgette pulp now lukewarm.
;Resize,width=712;)
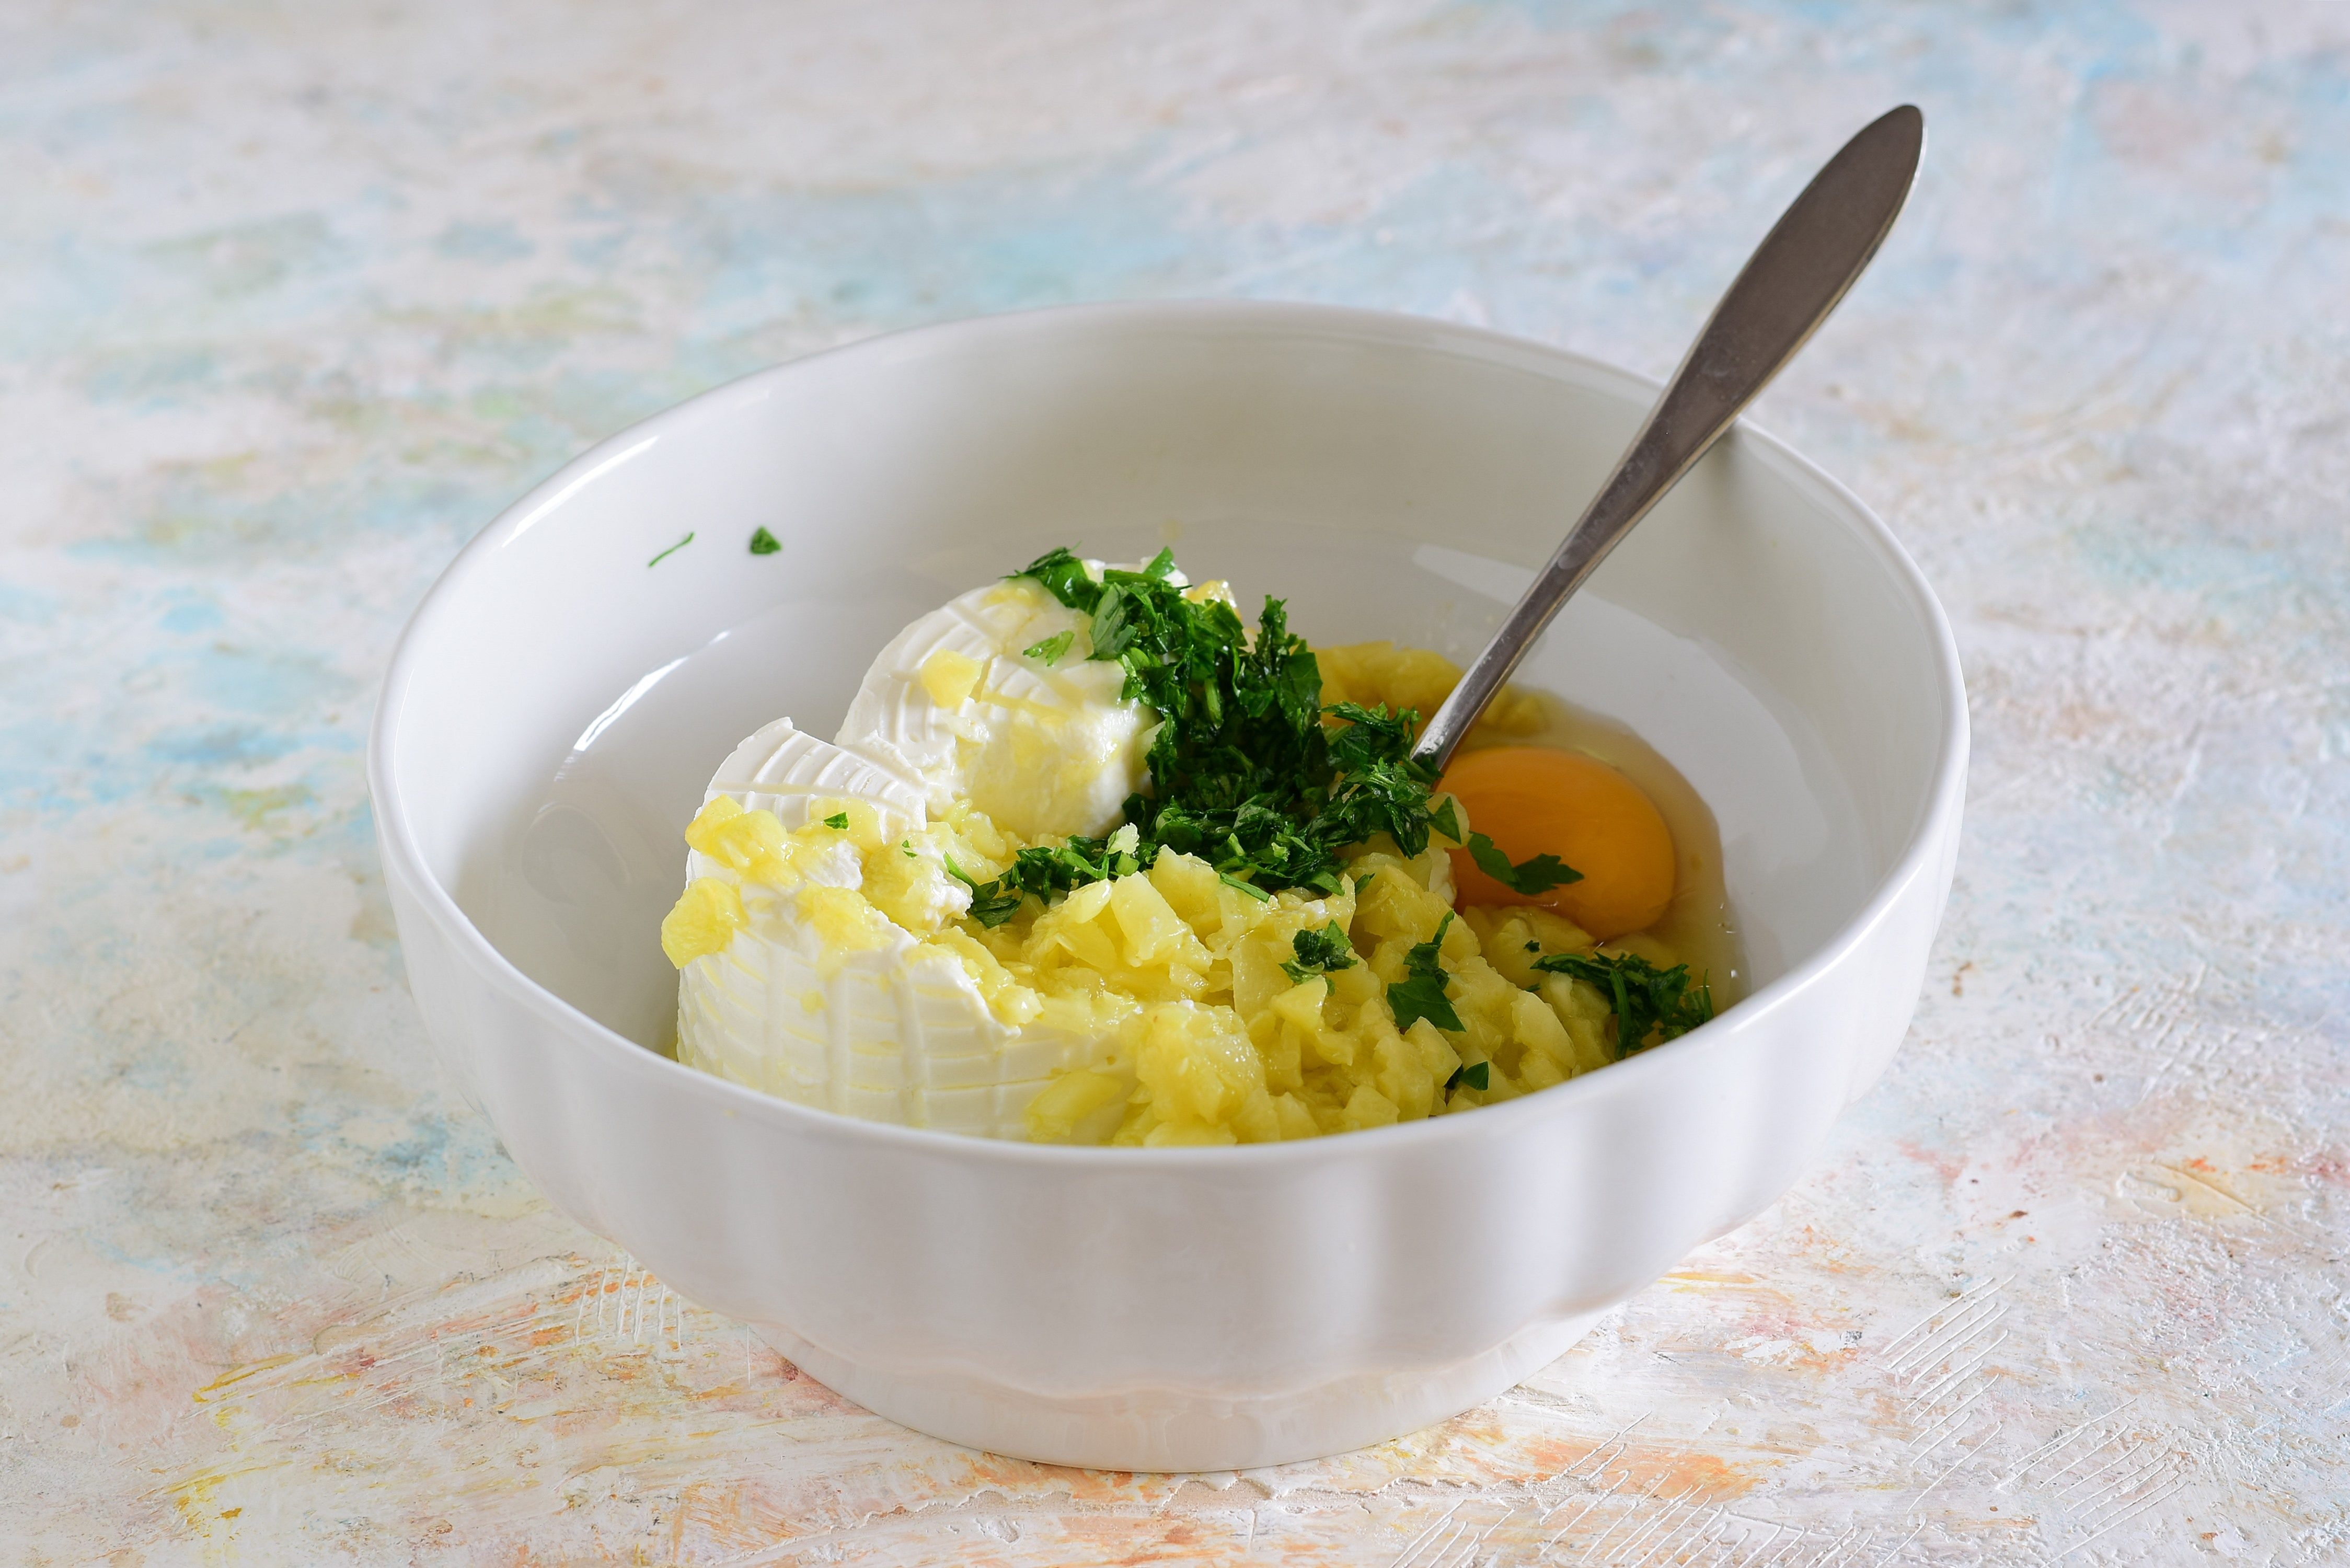
Step 5
Add the egg and season with chopped parsley.
;Resize,width=712;)
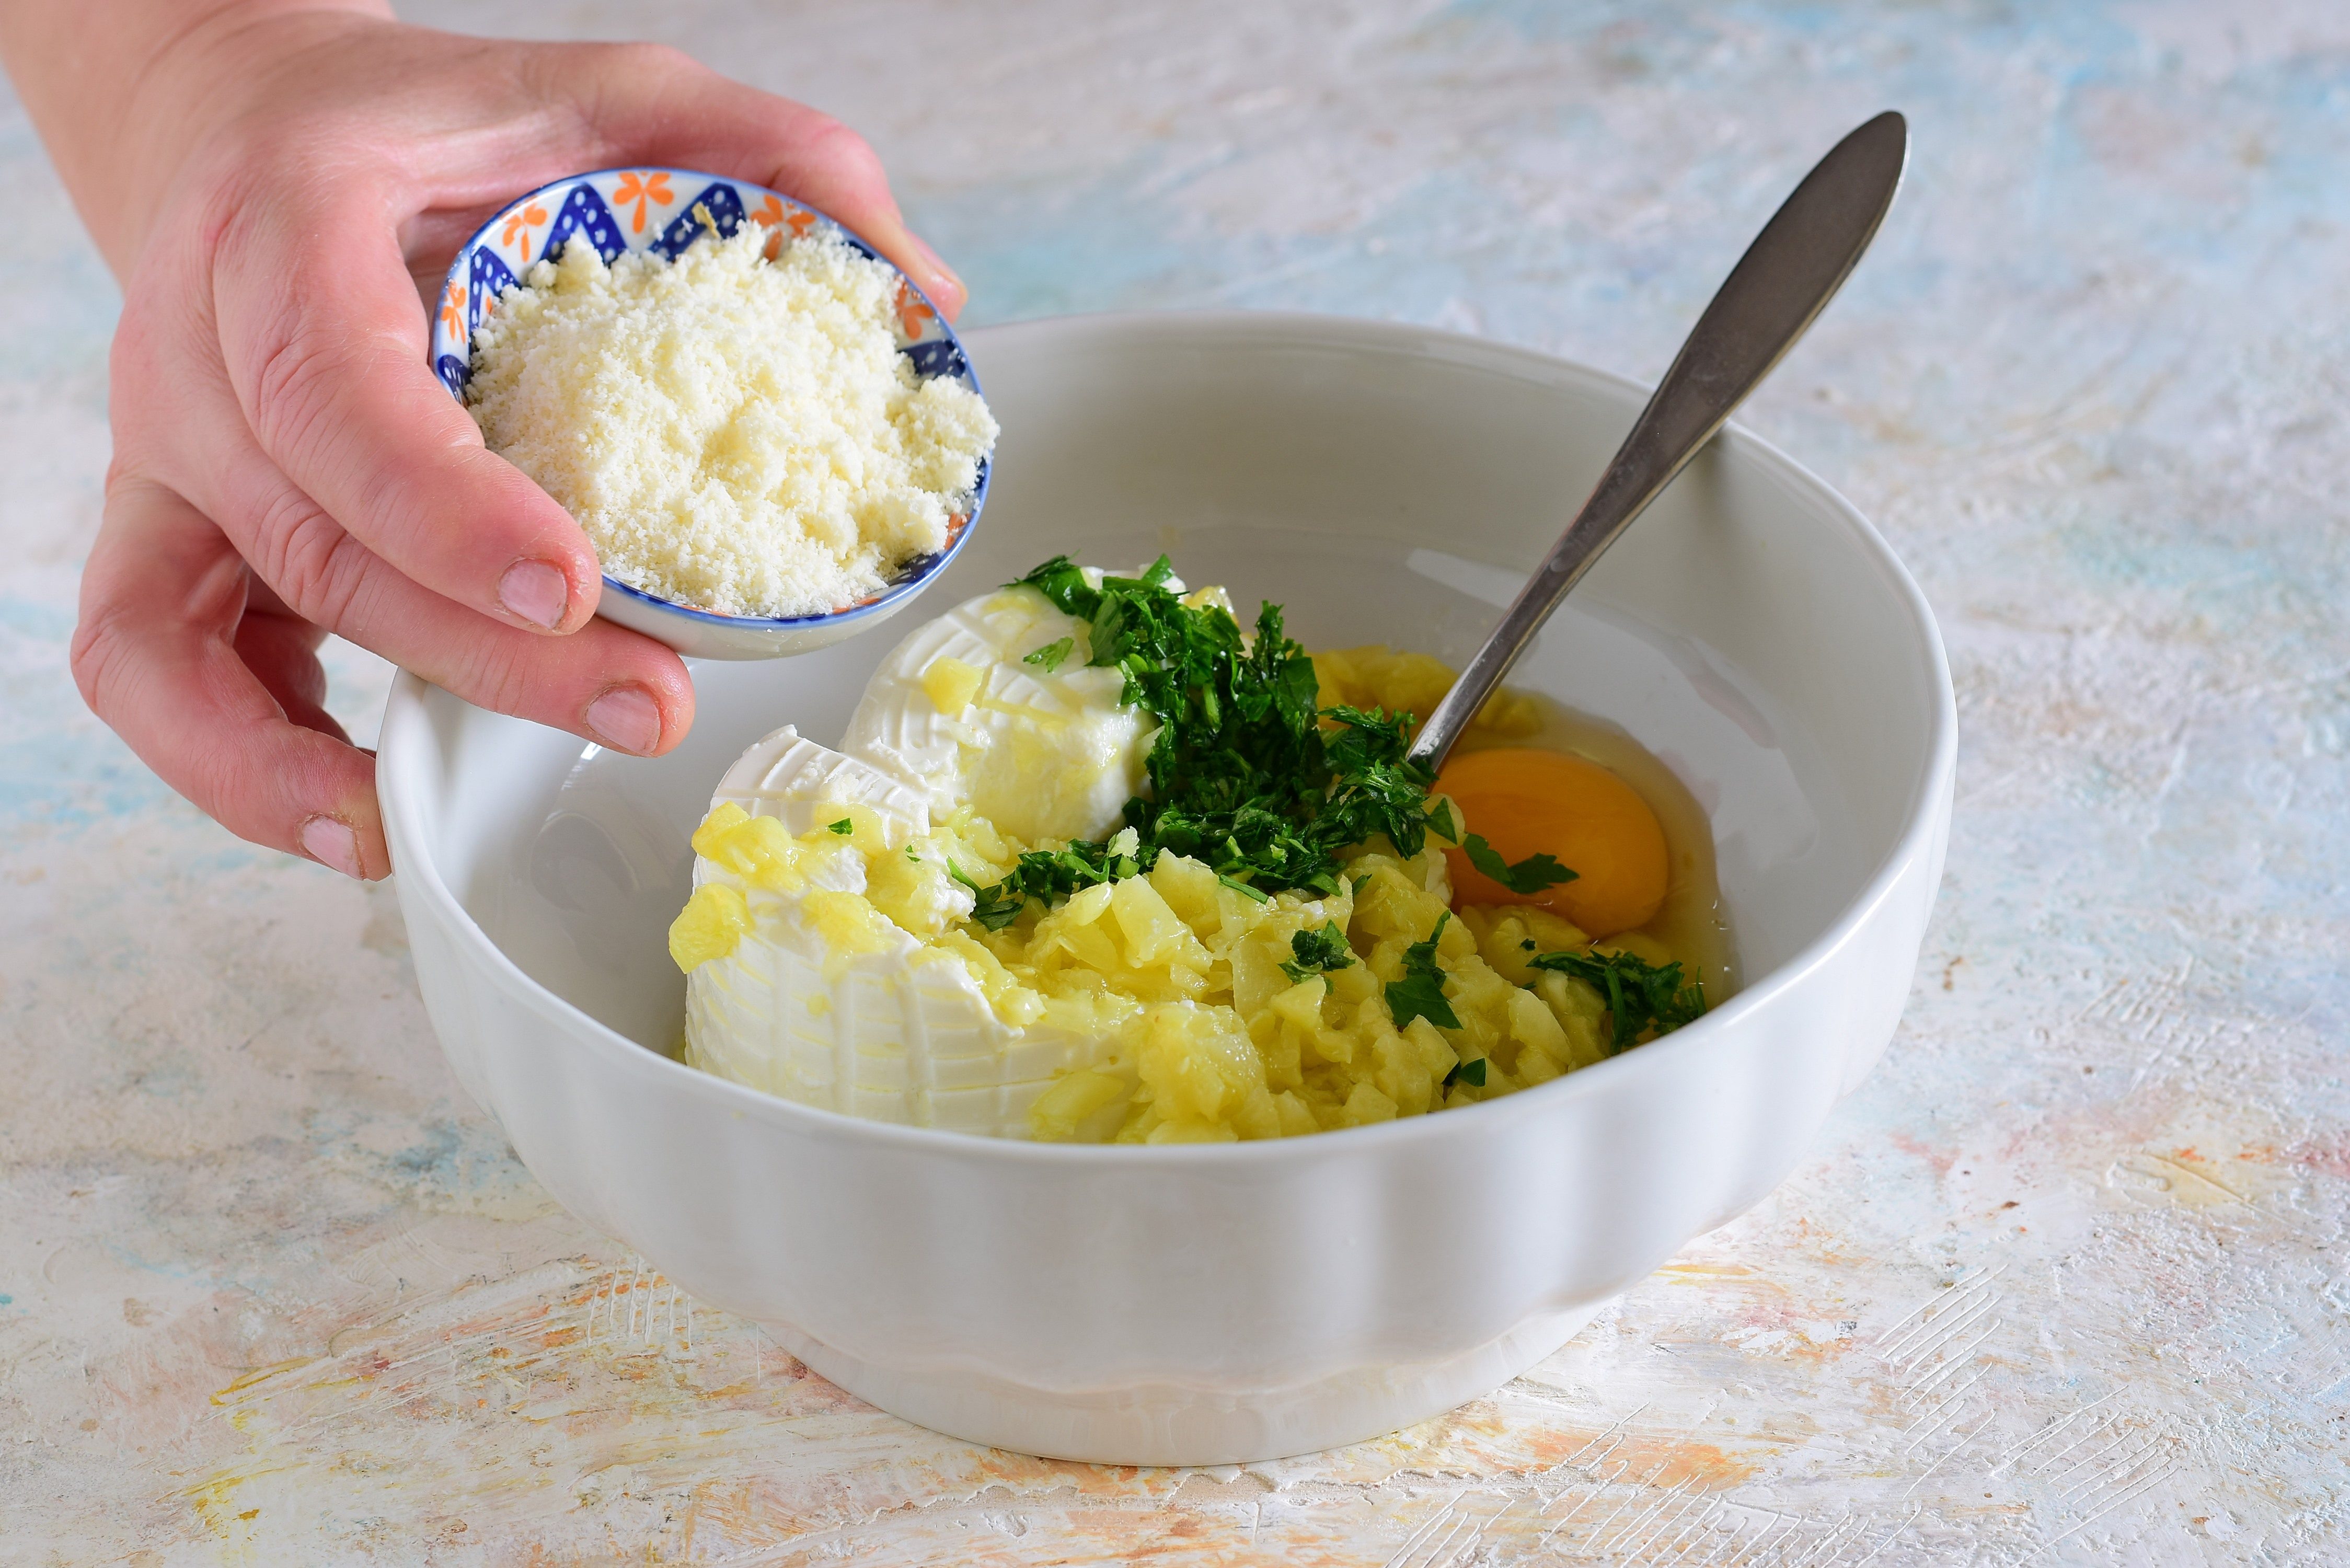
Step 6
Add the grated parmesan.
;Resize,width=712;)
Step 7
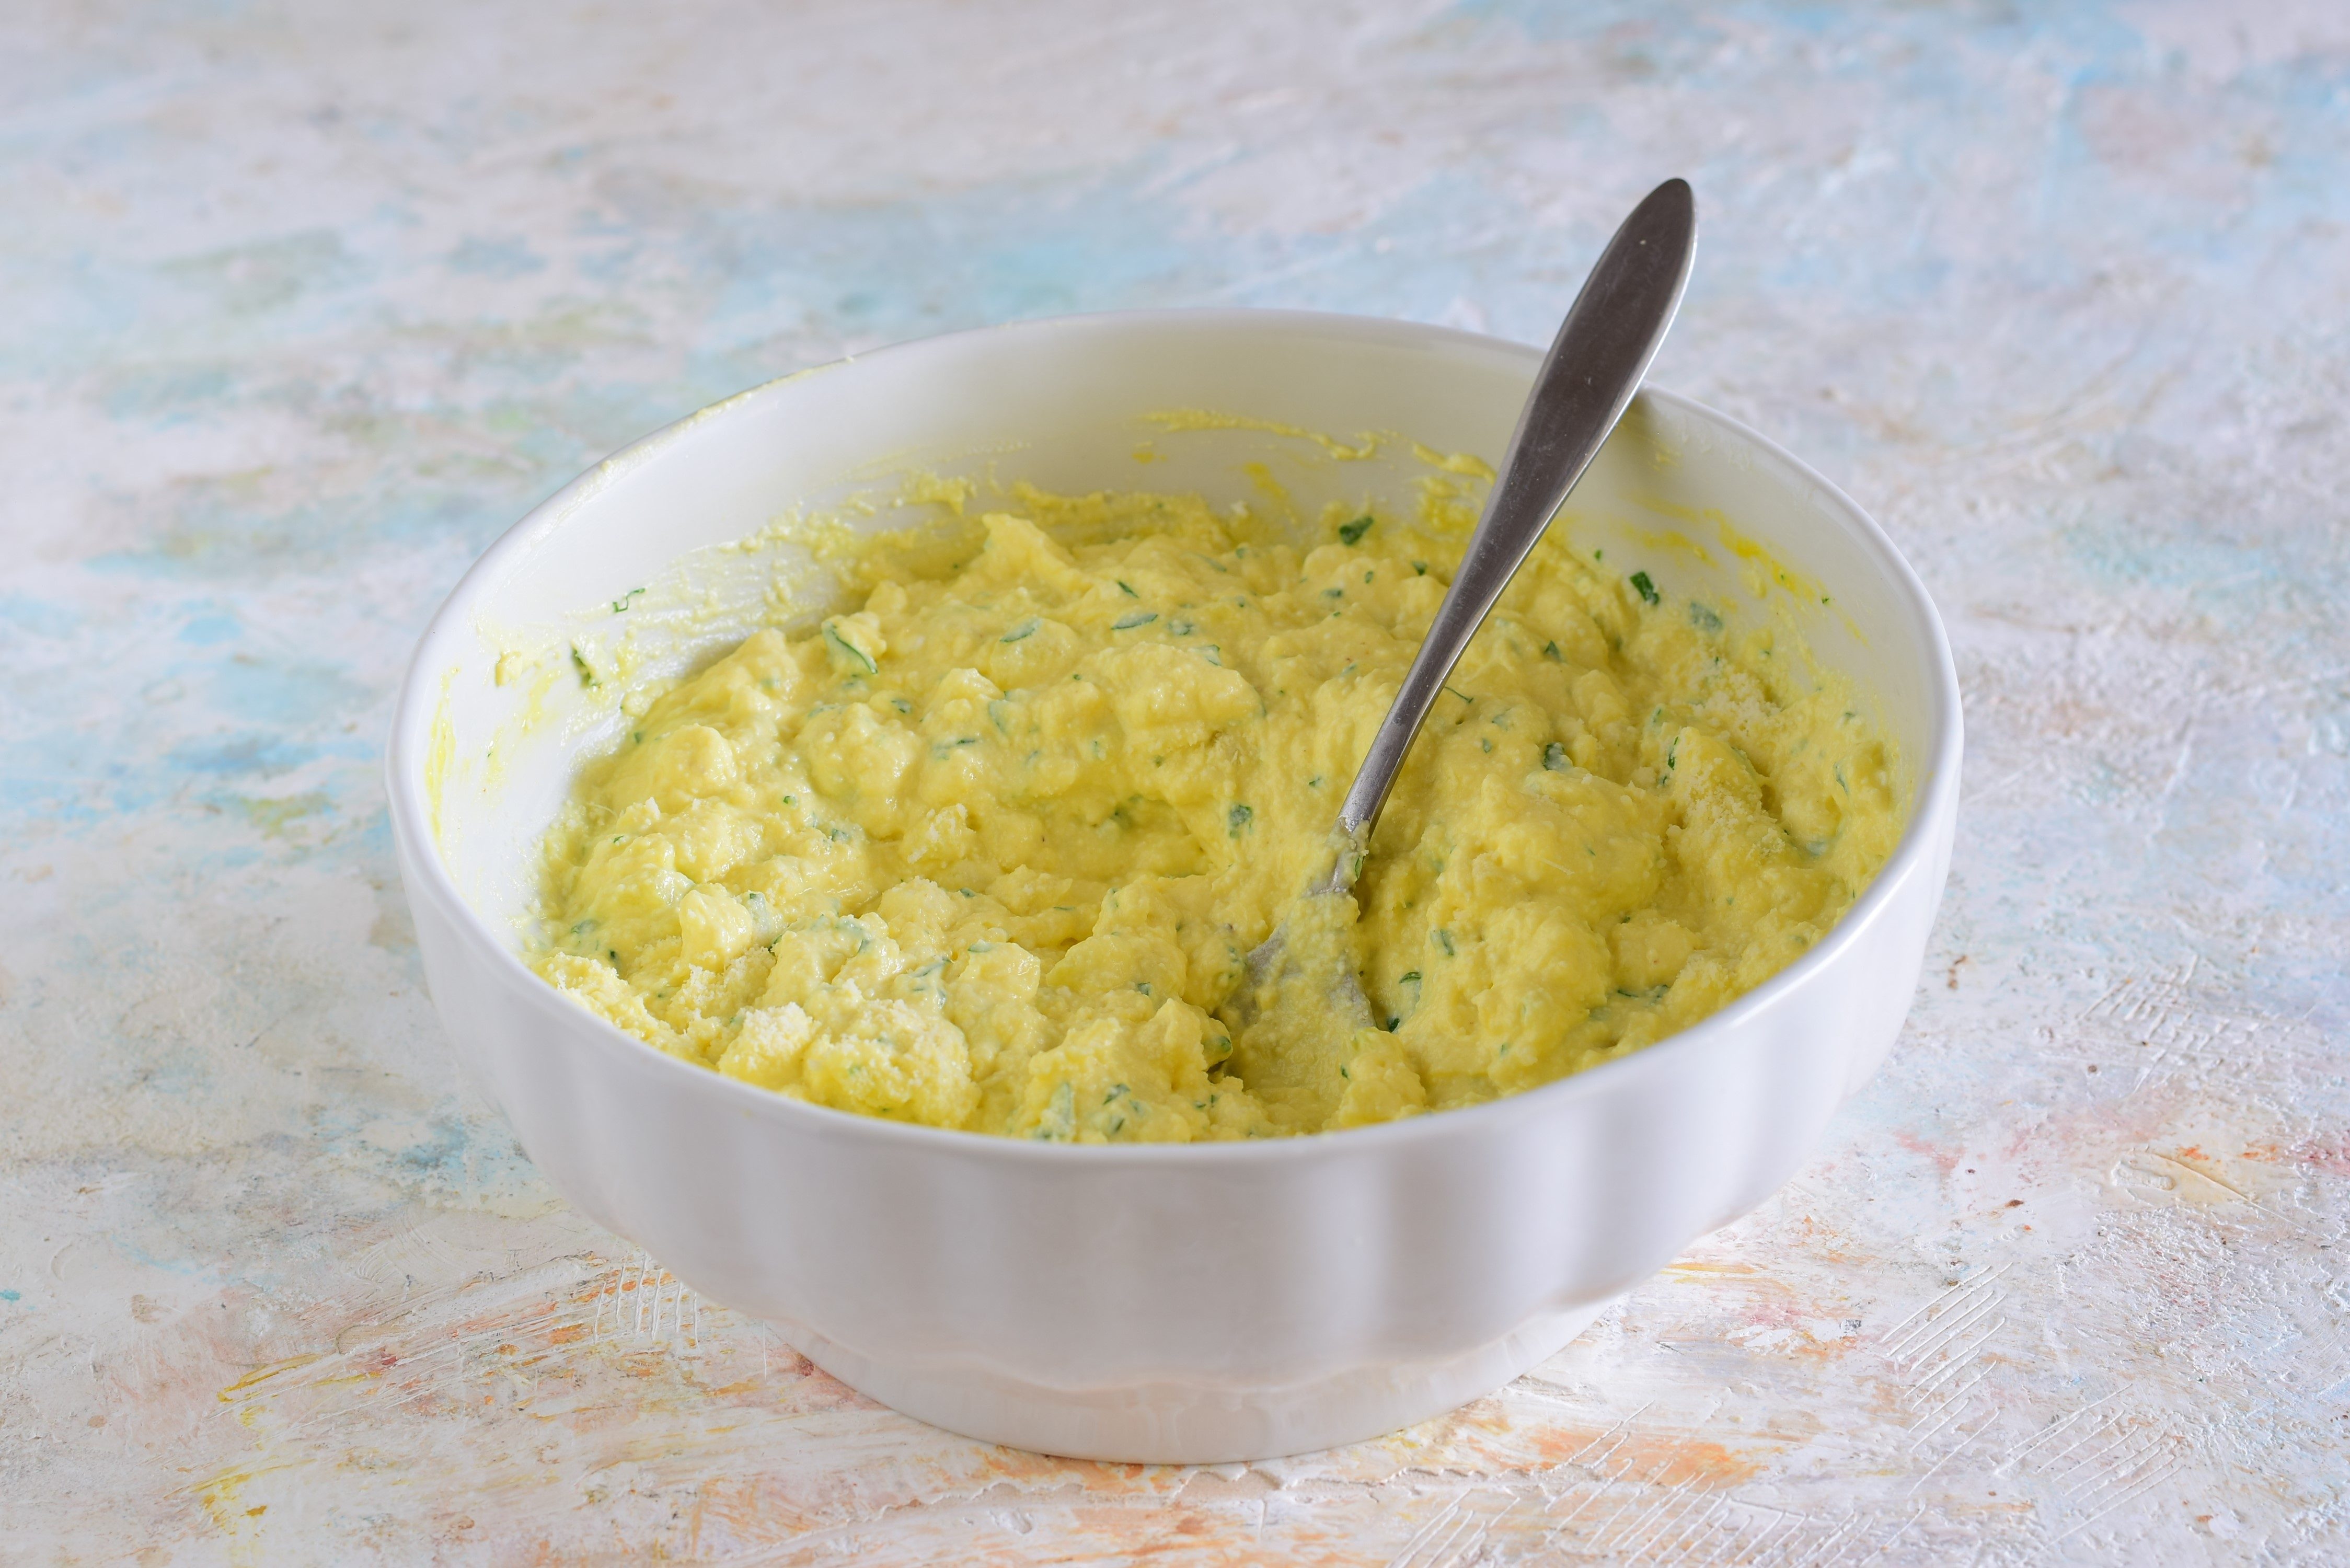
Add salt, spice with a pinch of nutmeg and mix the ingredients carefully until you obtain a smooth mixture.
;Resize,width=712;)
Step 8
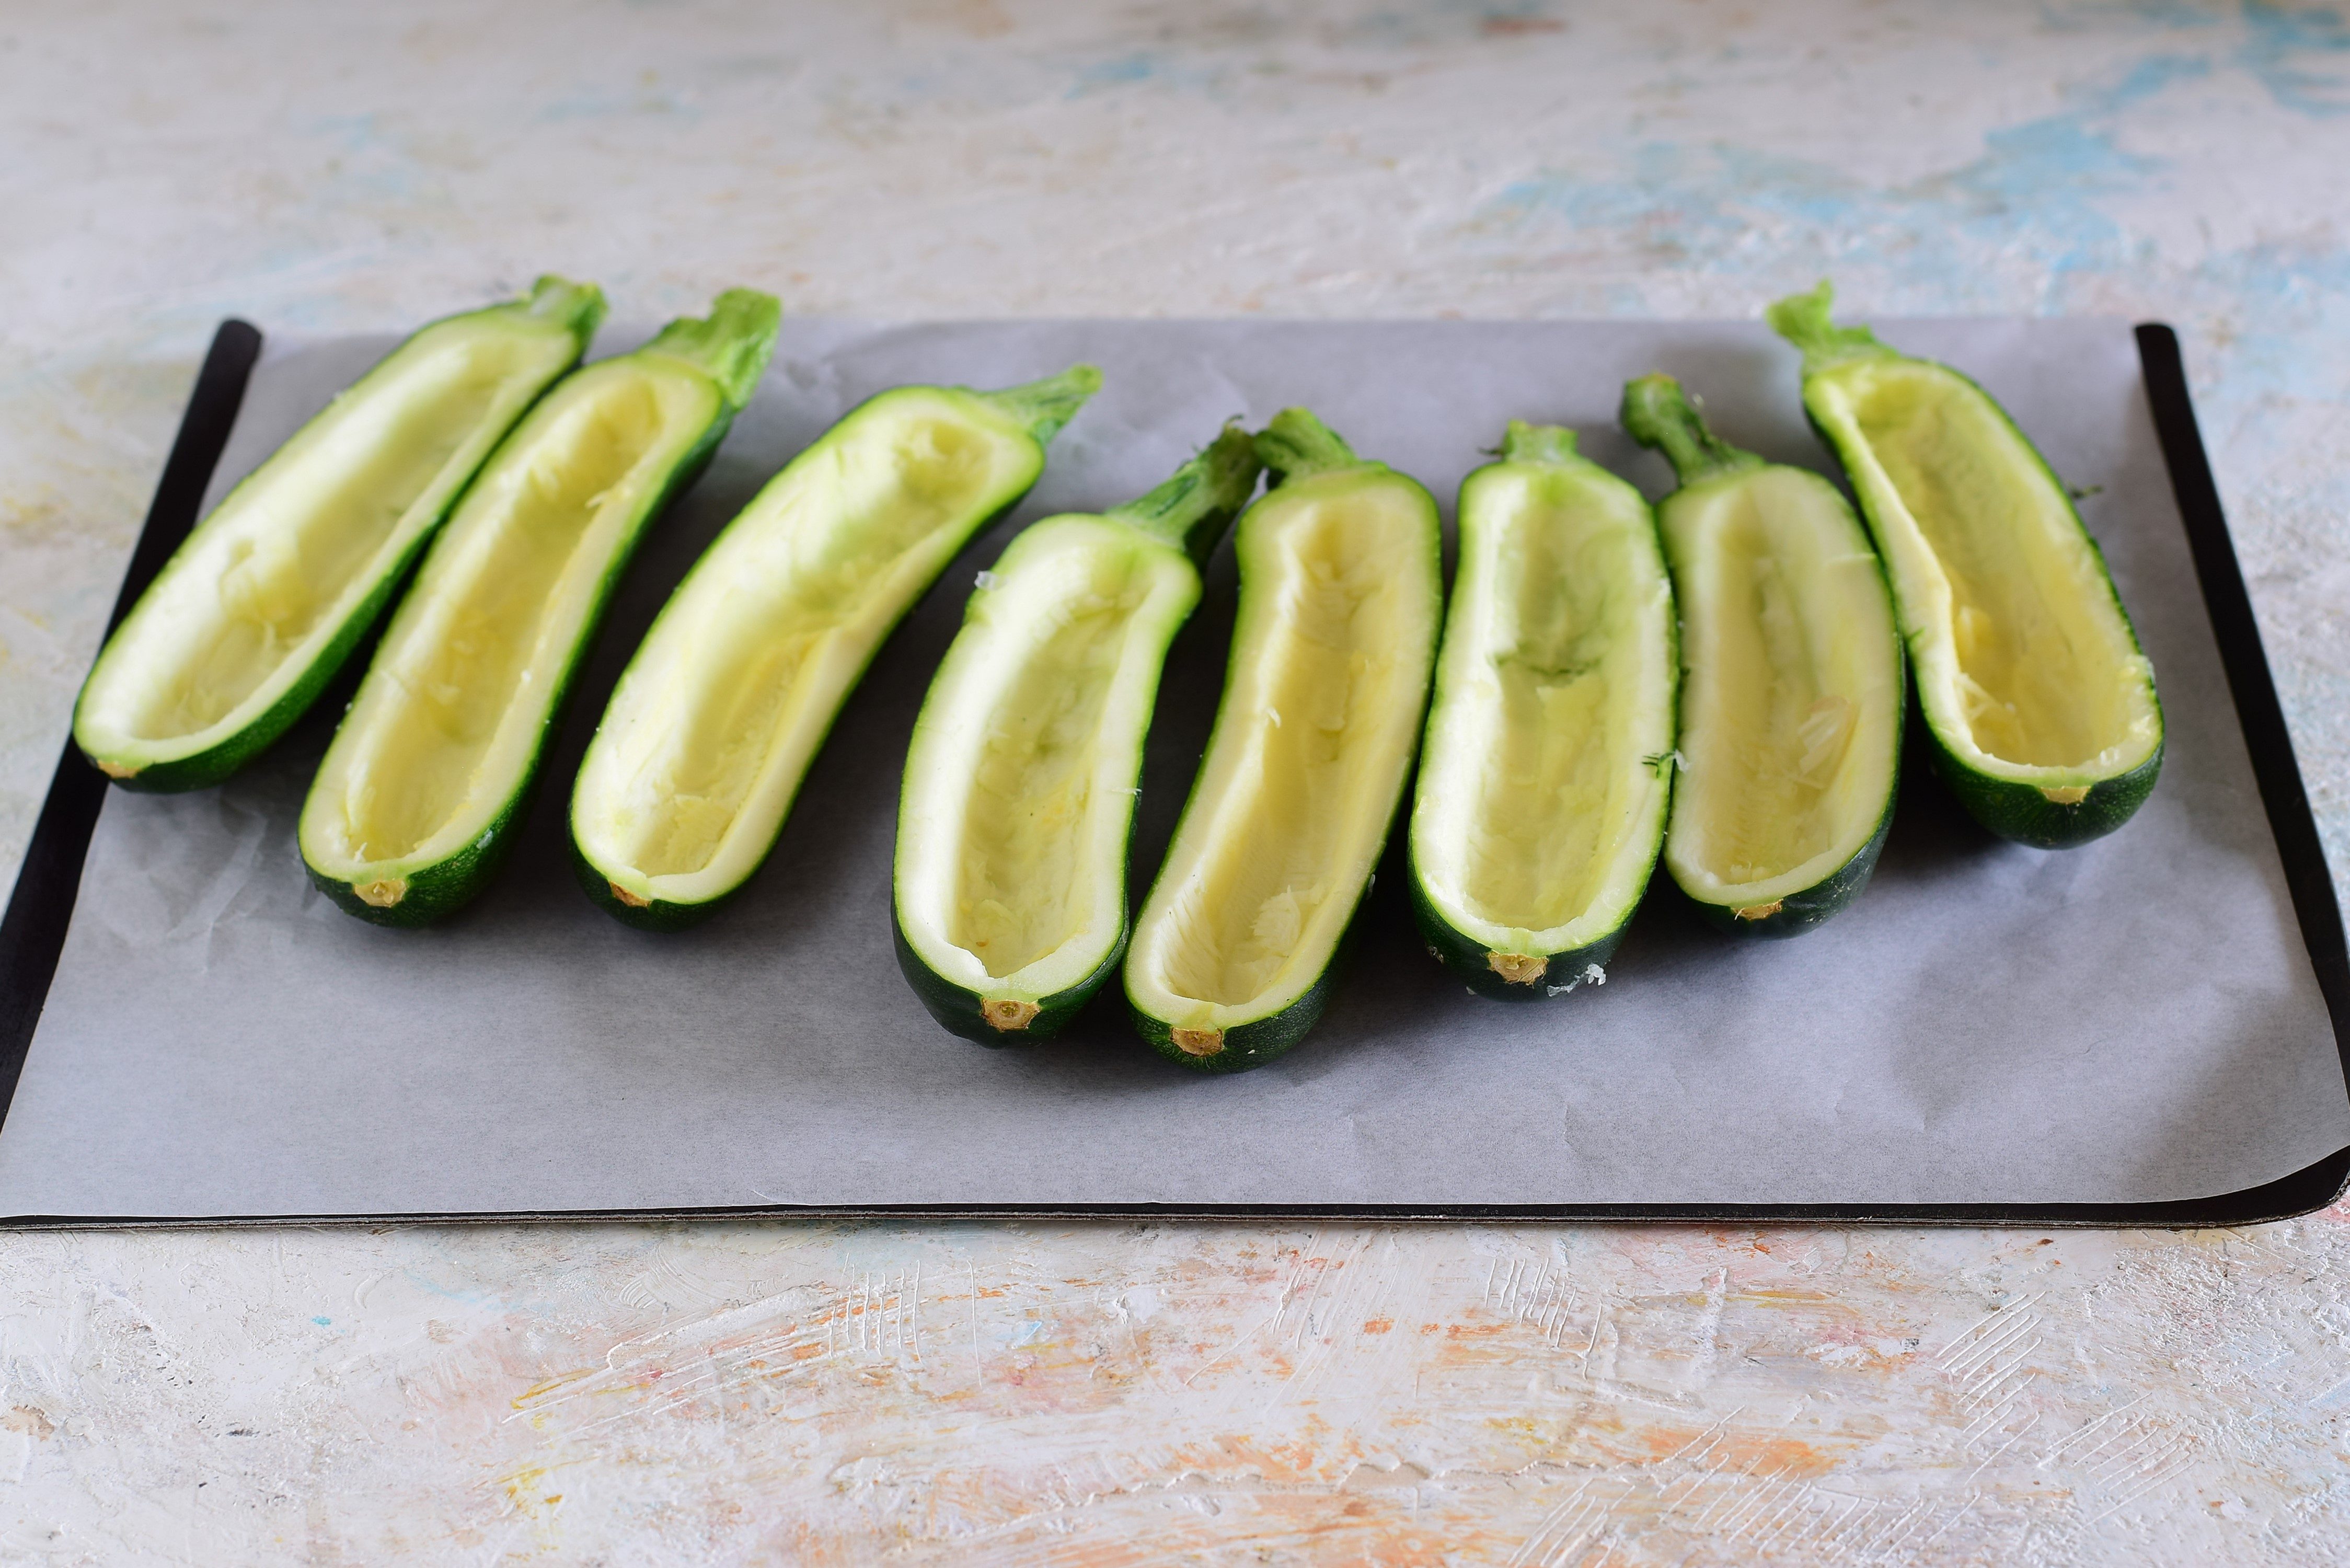
Die Zucchinischiffchen auf einem leicht gefetteten und mit Backpapier ausgelegten Backblech anrichten und mit einer Prise Salz würzen.
;Resize,width=712;)
Schritt 9
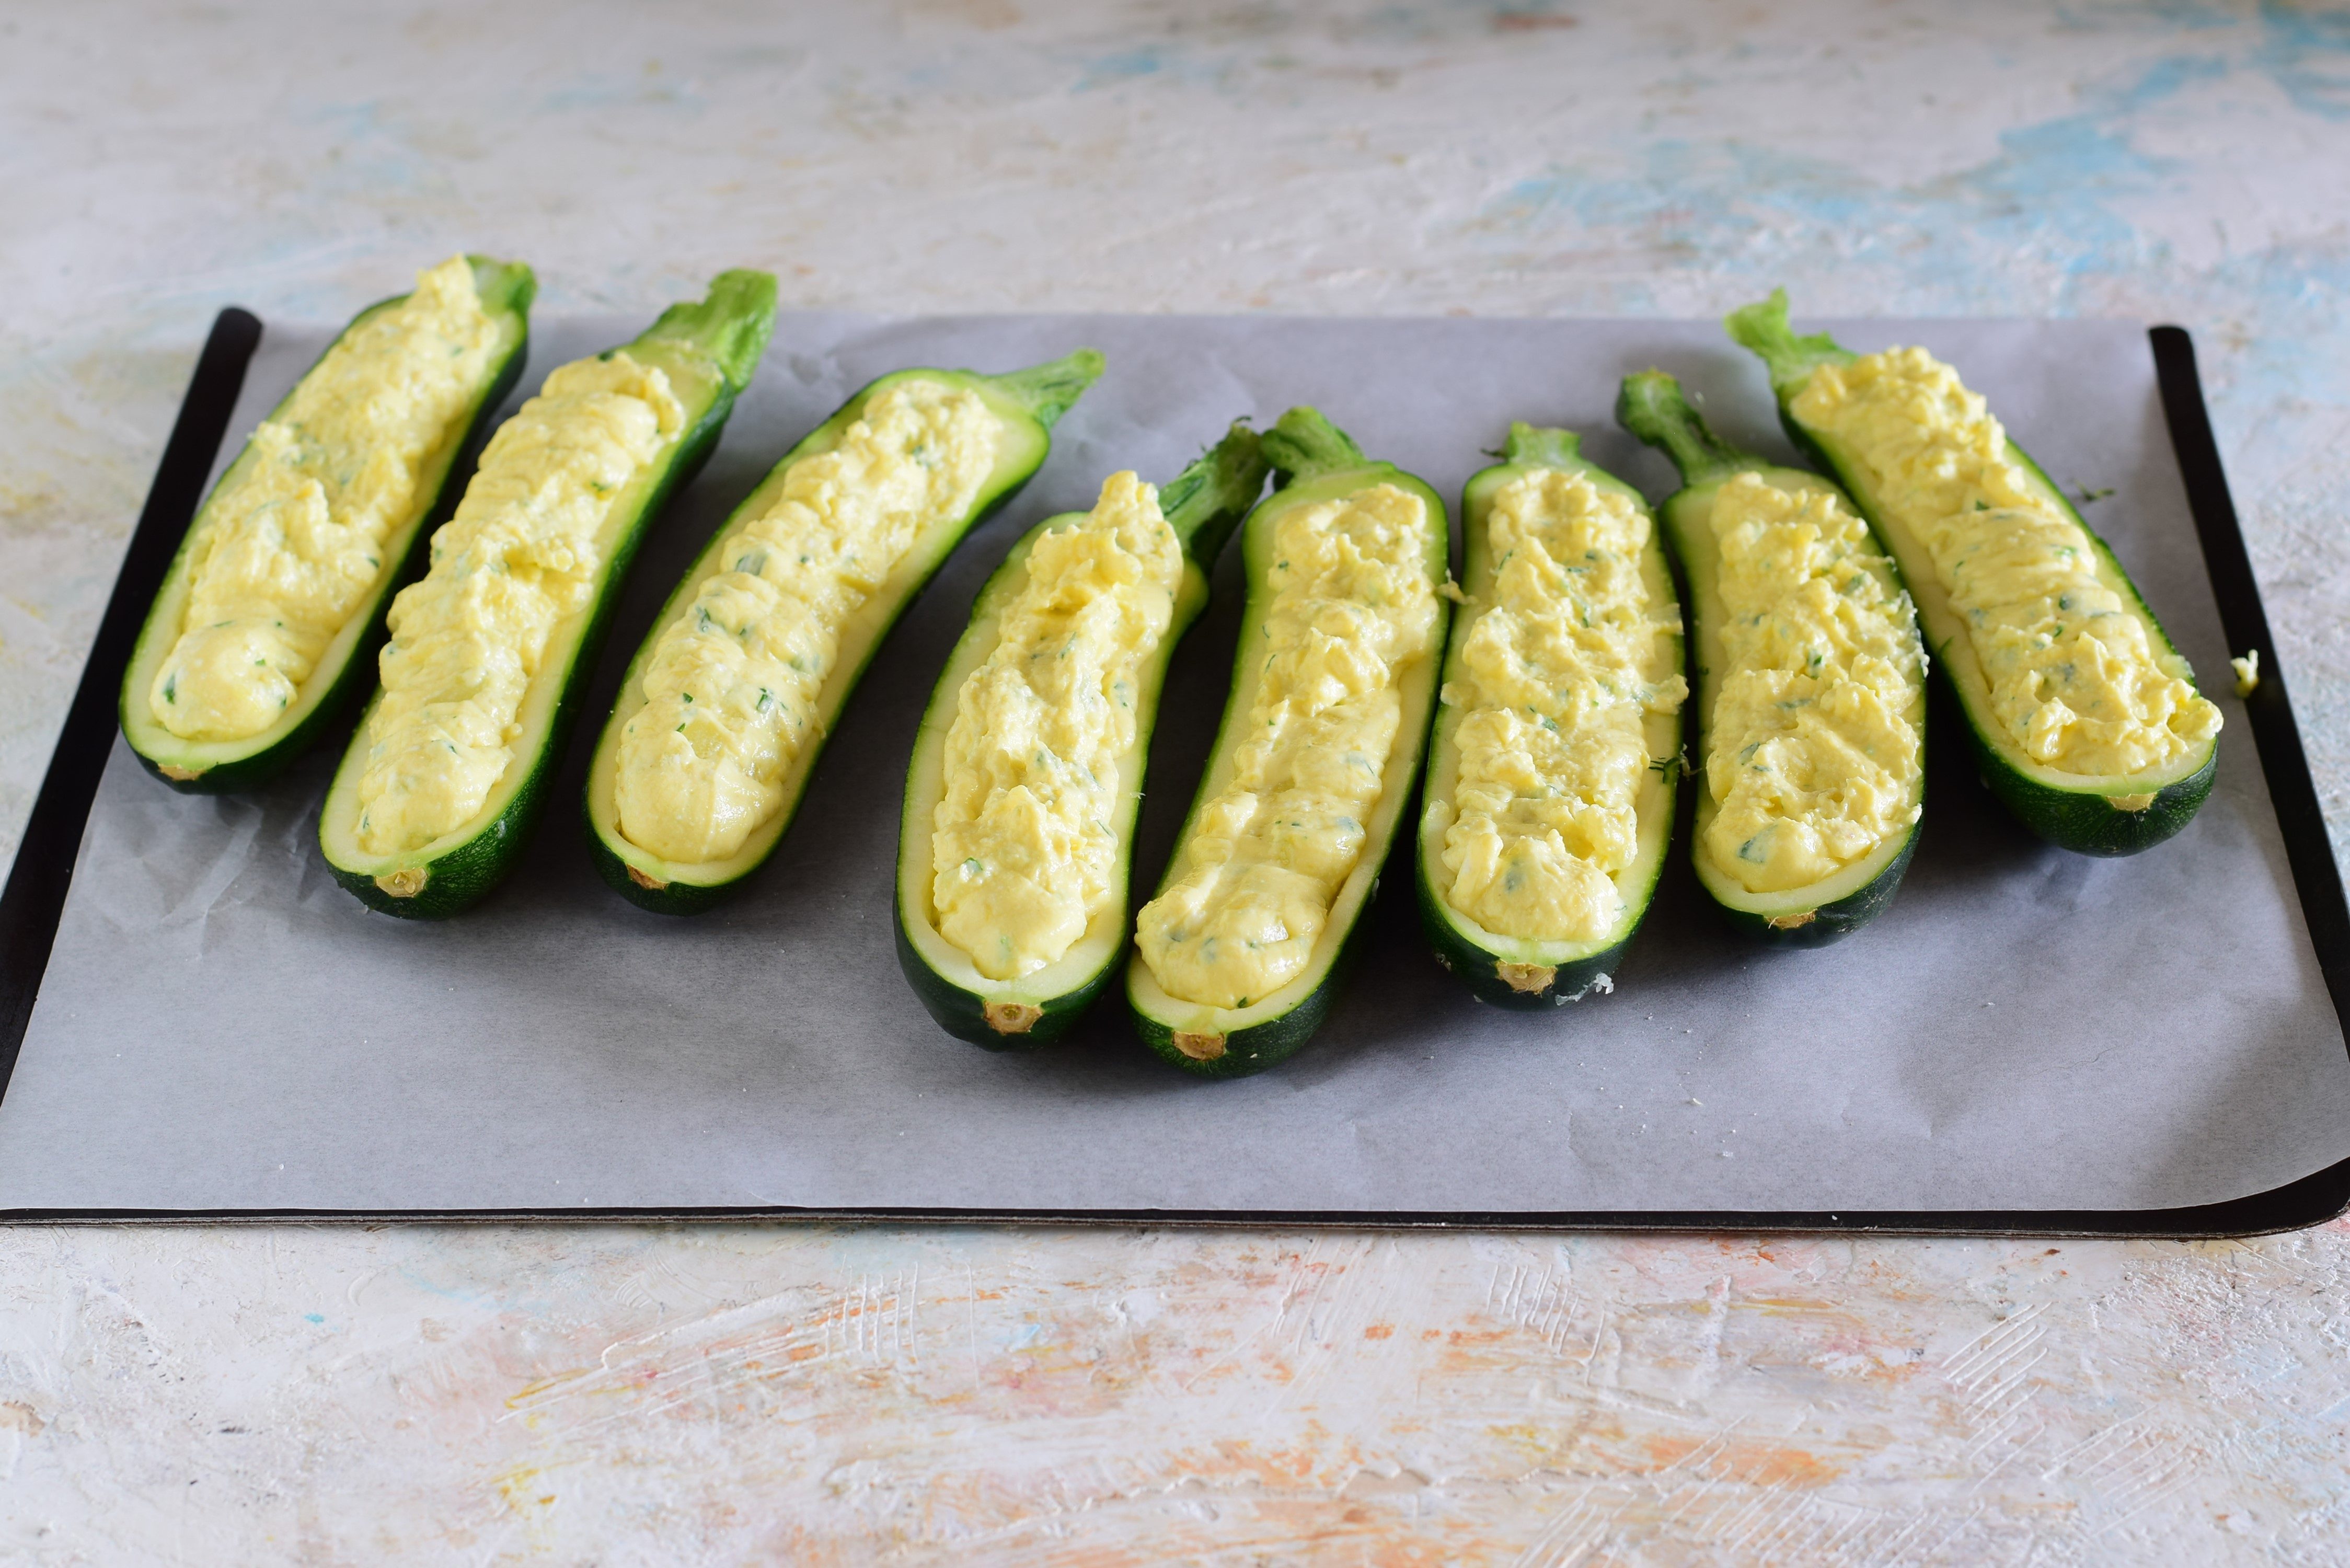
Die Zucchini mit der Ricotta-Füllung füllen und im Backofen bei 180 °C ca. 35 Minuten backen. Nach Ablauf der Garzeit die Zucchini aus dem Ofen nehmen und einige Minuten bei Zimmertemperatur ruhen lassen. Anschließend auf einer Servierplatte anrichten.
;Resize,width=712;)
Schritt 10
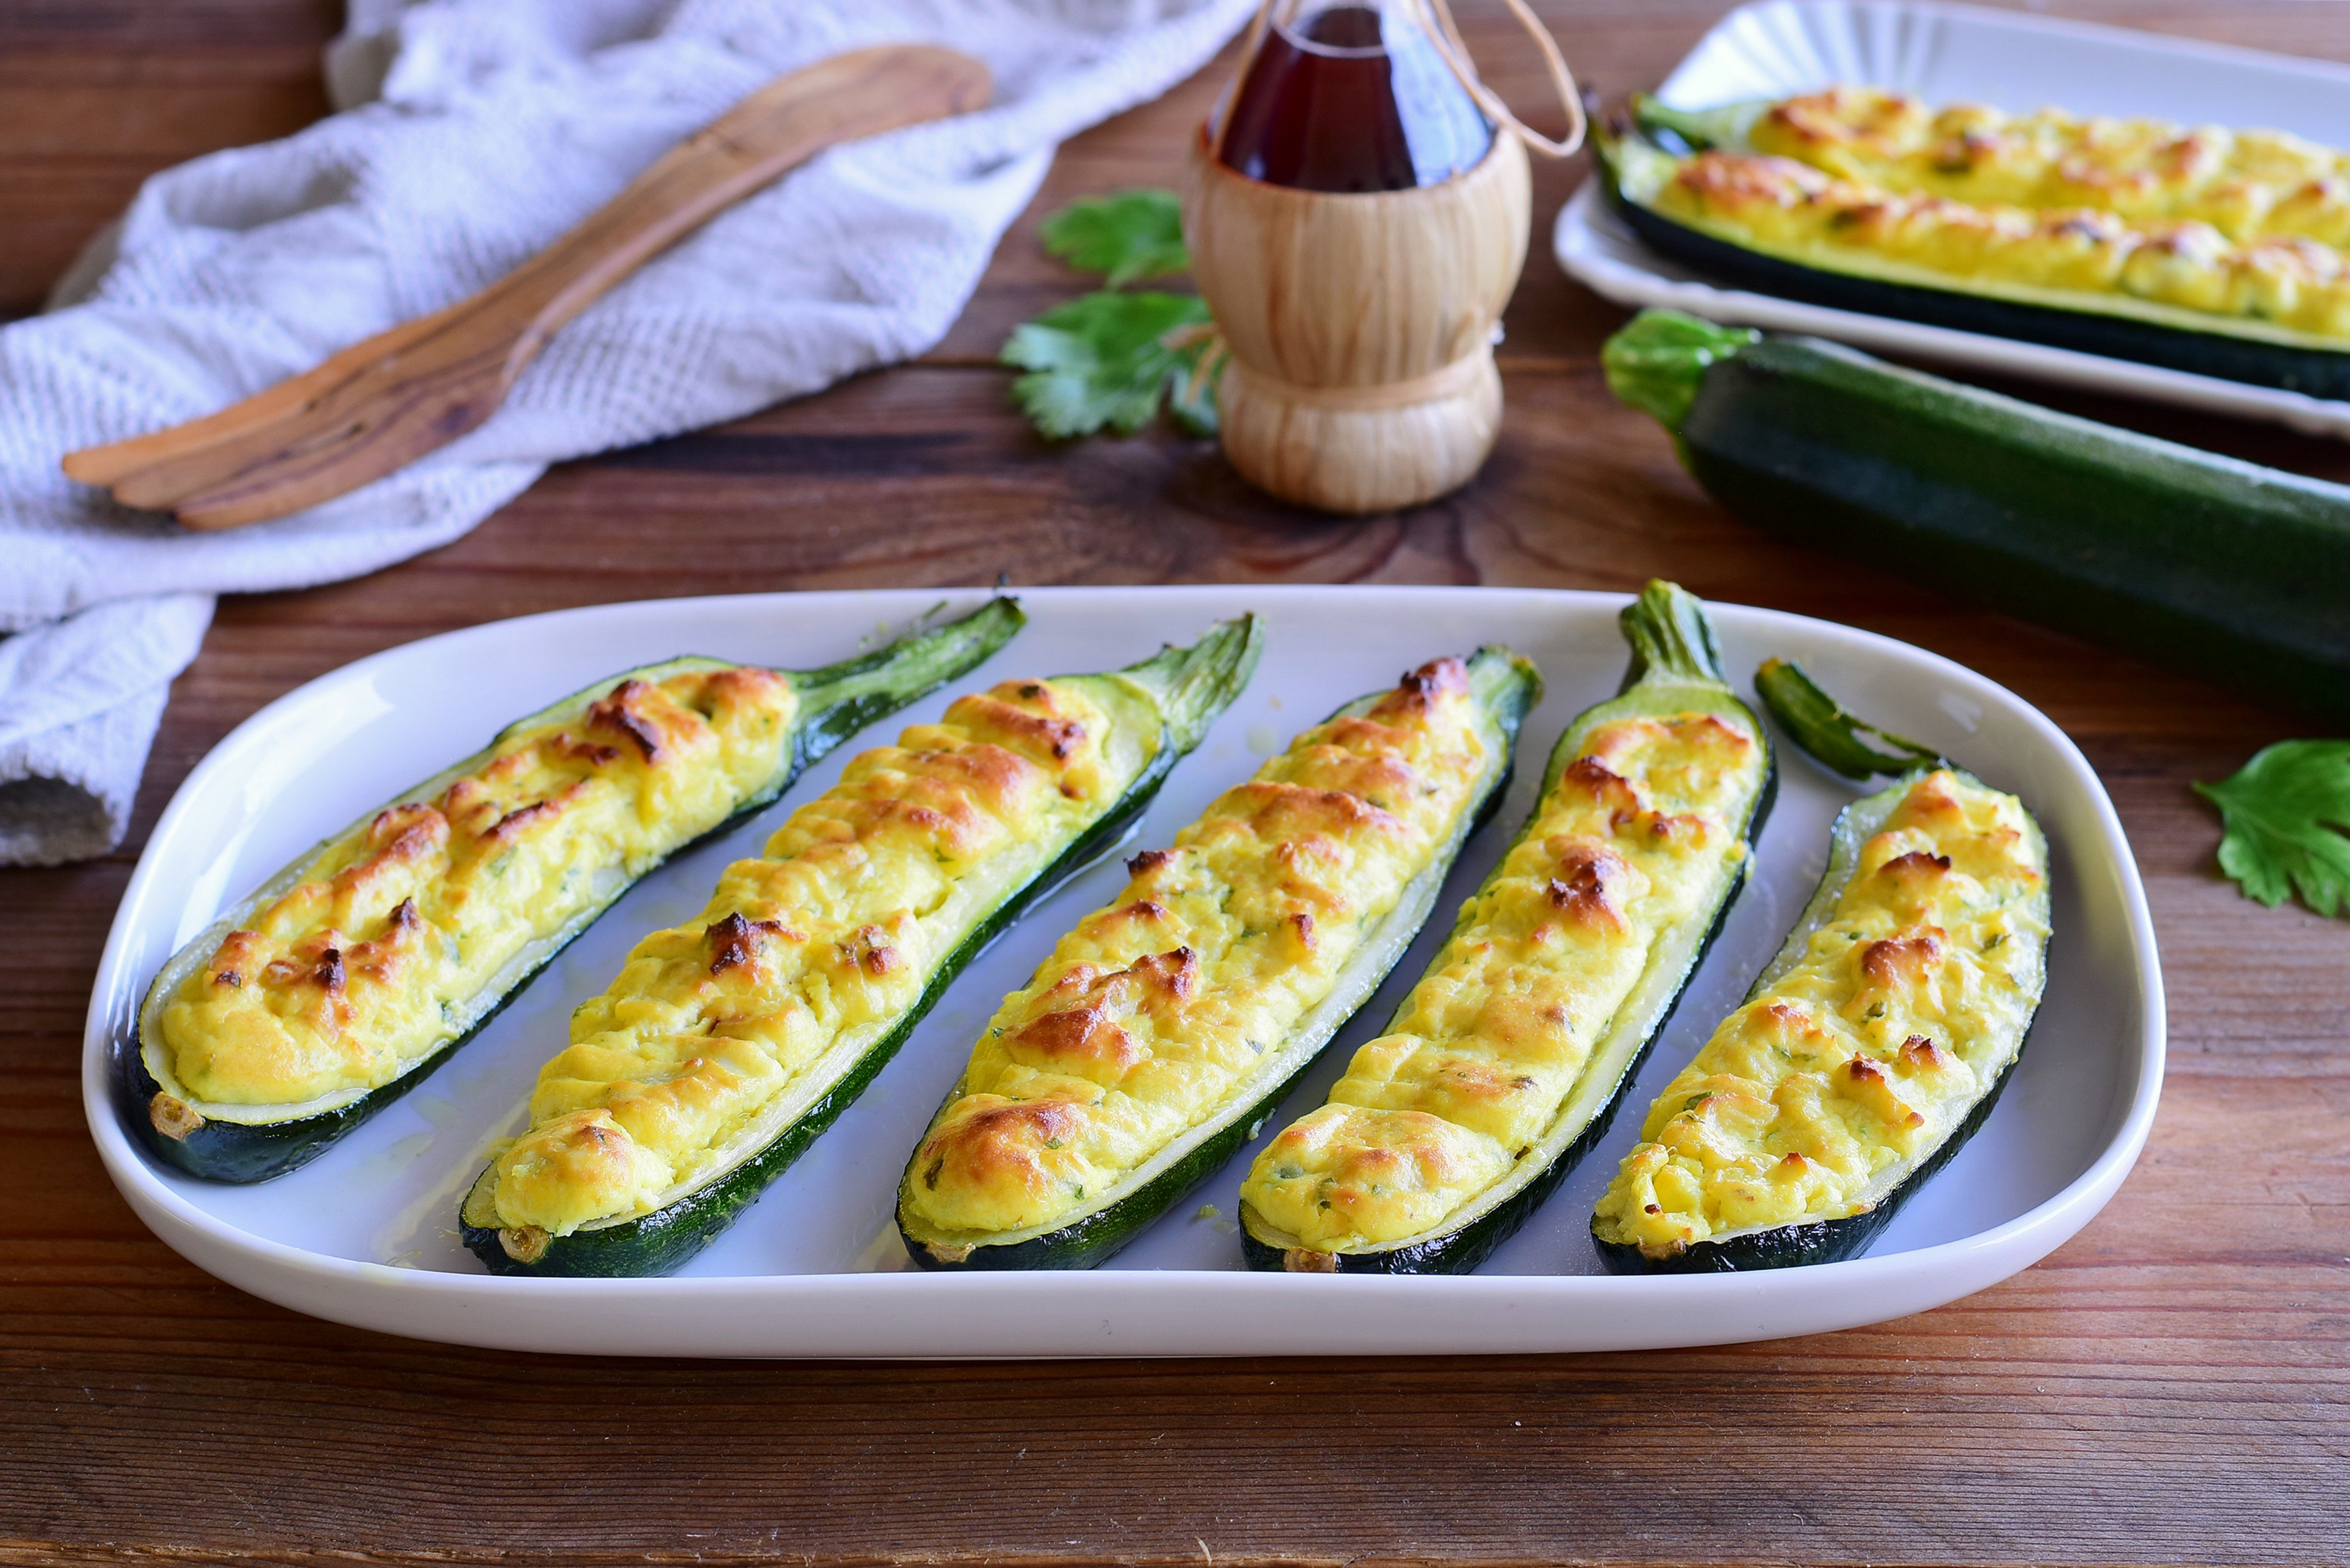
Genießen!